Gateway Permits tab
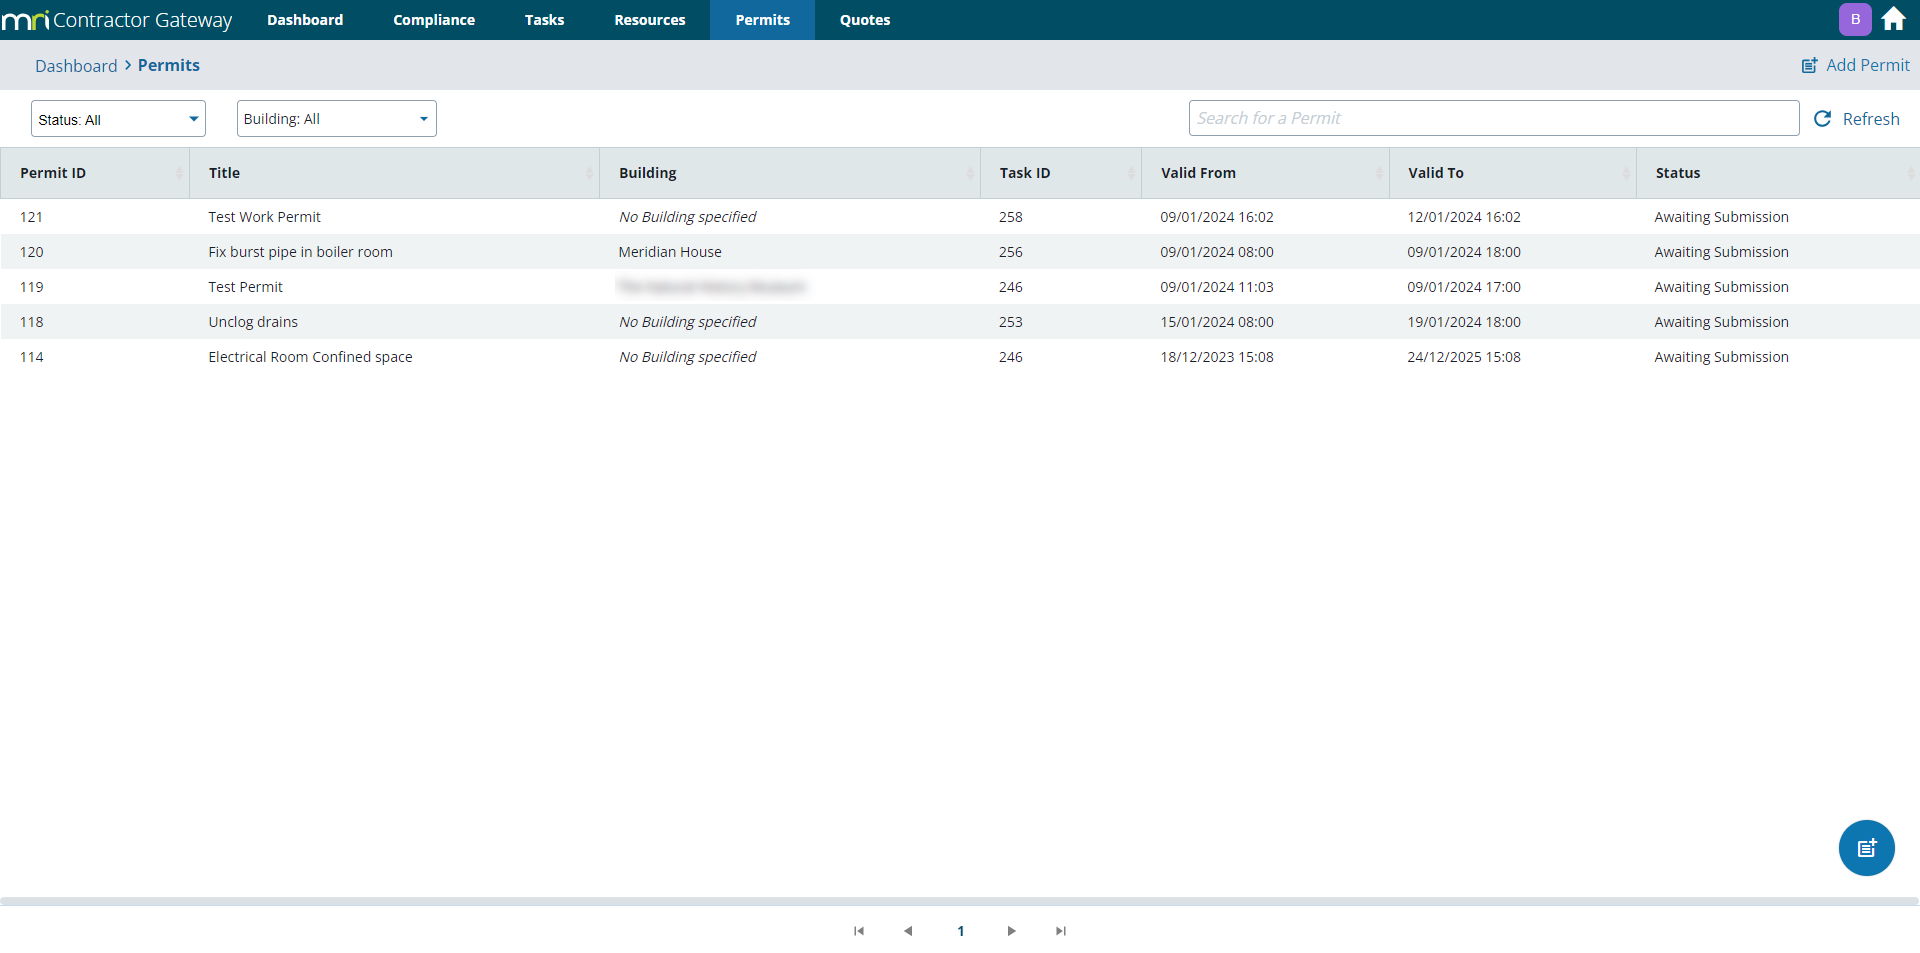
The Permits grid is the area where suppliers maintain and manage their Work Permits. The Permits may have been passed to Gateway from MRI Evolution or instigated in Gateway.
Available from version 1.3.1
-
Updates to Permits within MRI Evolution will now send changes to Contractor whilst the Permit is in the “With Supplier” state
-
Permit Survey responses are now rejected if/when the associated Permit is rejected allowing the user to submit new Survey results
-
Permits that have been rejected can now have their questionnaires re-submitted as well as the Permit as a whole
Permit Statuses
Permits will change status during their lifetime and will be passed to and fro between Gateway and MRI Evolution as the status changes.
A typical life cycle of a Permit in Gateway:
- The first status in Gateway will be Awaiting Submission, changes can be made as necessary in this status
- A Gateway user will fill in the Permit details and click Submit when ready - the status changes to Submitted and is 'passed back' to MRI Evolution for review, no further changes are permitted in Gateway in this status
- An MRI Evolution user will review the Permit and either Approve, Reject or Cancel
- Approve - the Permit status will be changed to Approved, no changes allowed in Gateway
- Reject - the Permit status will be changed to Rejected and a Gateway user can make changes and re-submit for review
- Cancel - the Permit status will be changed to Cancelled and no further changes are possible in Gateway
- An MRI Evolution user changes the status from Approved to Issued - the Permit status will be changed to Permit Issued
Permit Questionnaires
There is validation built in to Gateway to prevent users submitting Permits for review when there are unanswered Questionnaires:

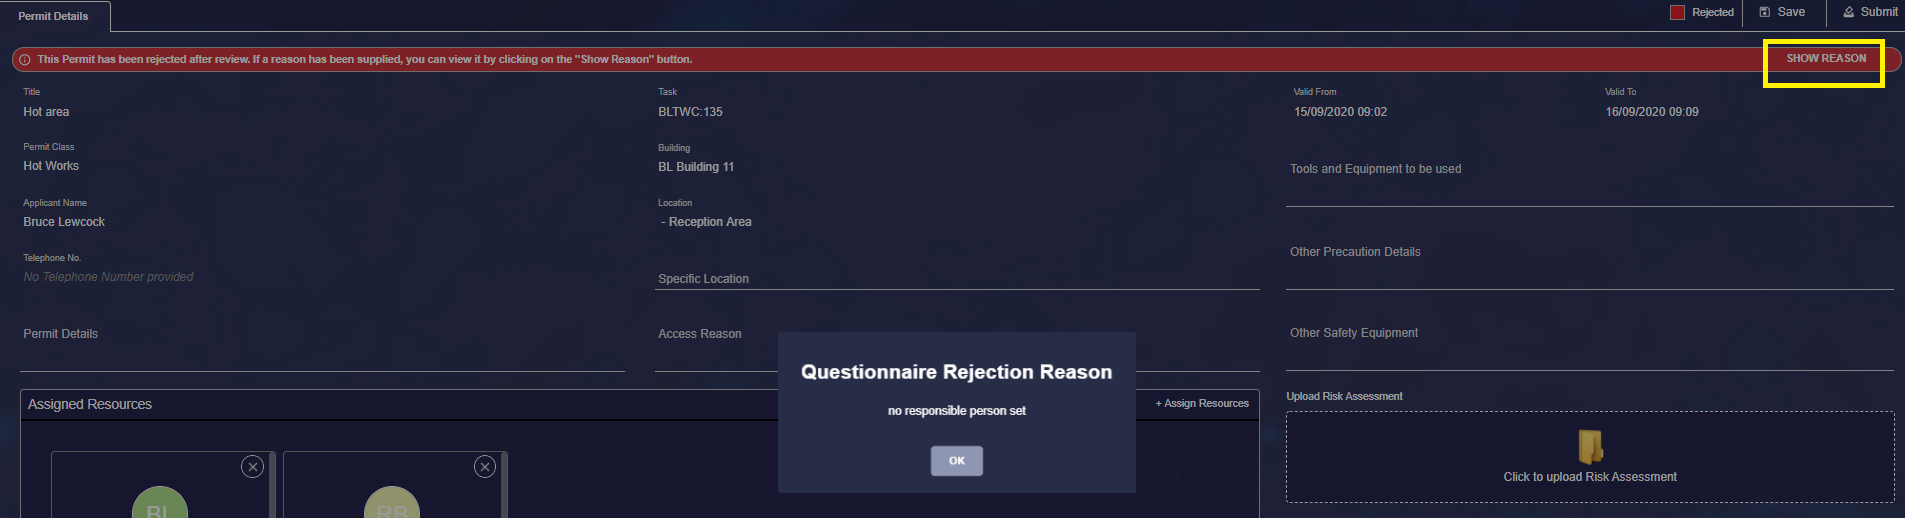
Rejected
Gateway users can view the reason given for Permits that have been rejected by an MRI Evolution user by clicking the  button, as highlighted below:
Available from version 1.3.1
-
Permits that have been rejected can now have their questionnaires re-submitted as well as the Permit as a whole
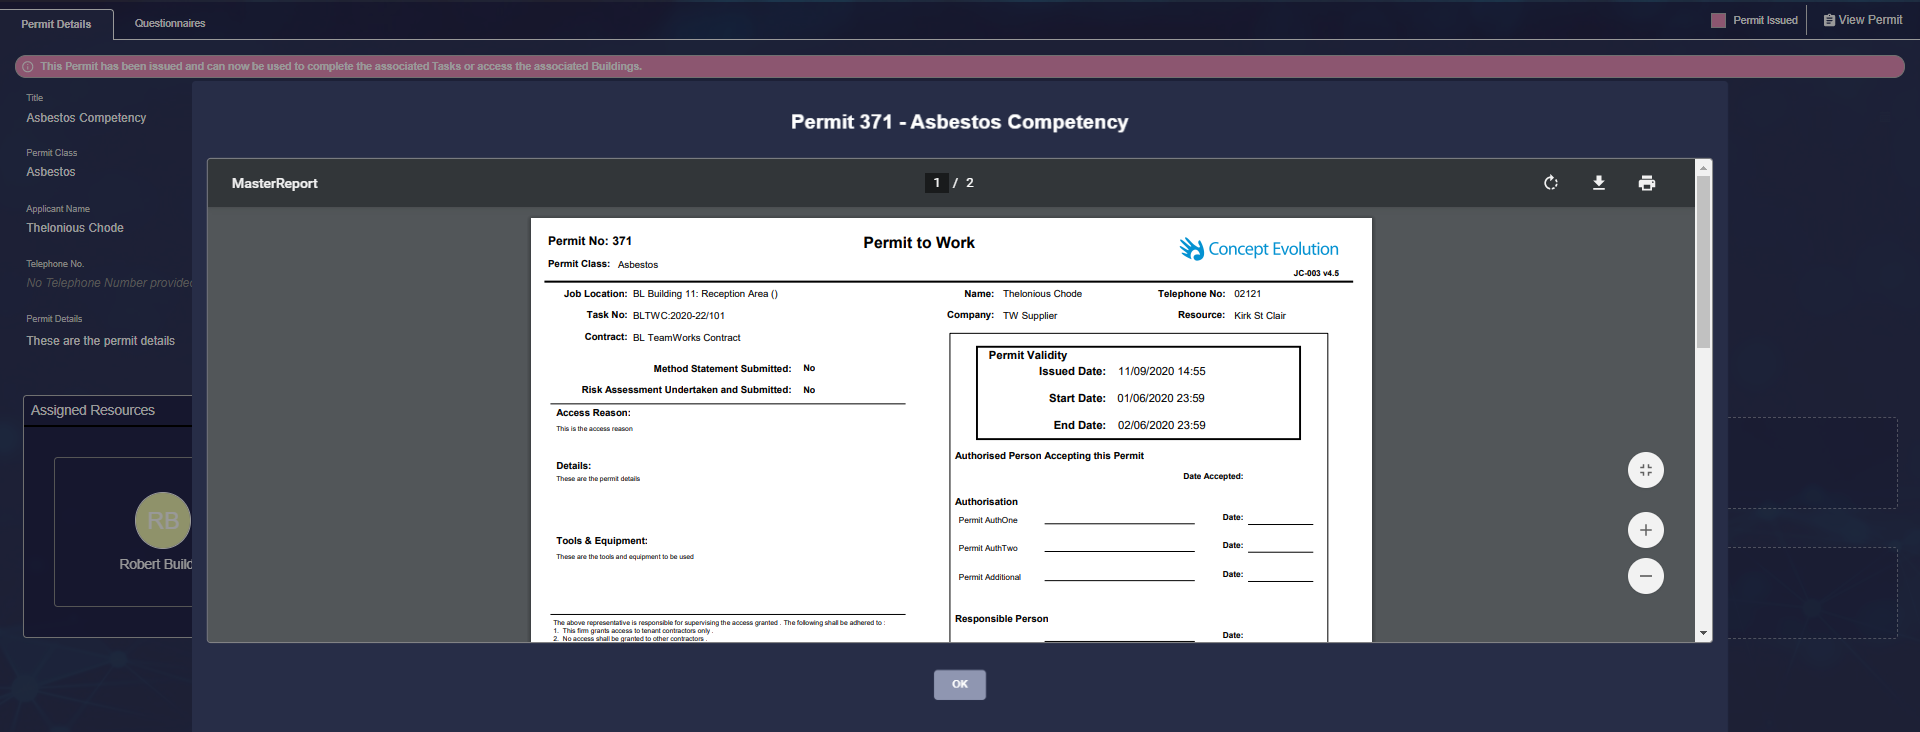
Issued Permit
Gateway users can view, download and print the issued Permit by clicking the View Permit button:
Adding Permits in Gateway
New Permits can be added by clicking either of two button/links:
-
 - found top-right
 -
 - found bottom-right
Both will open a page to enter details of the Permit:
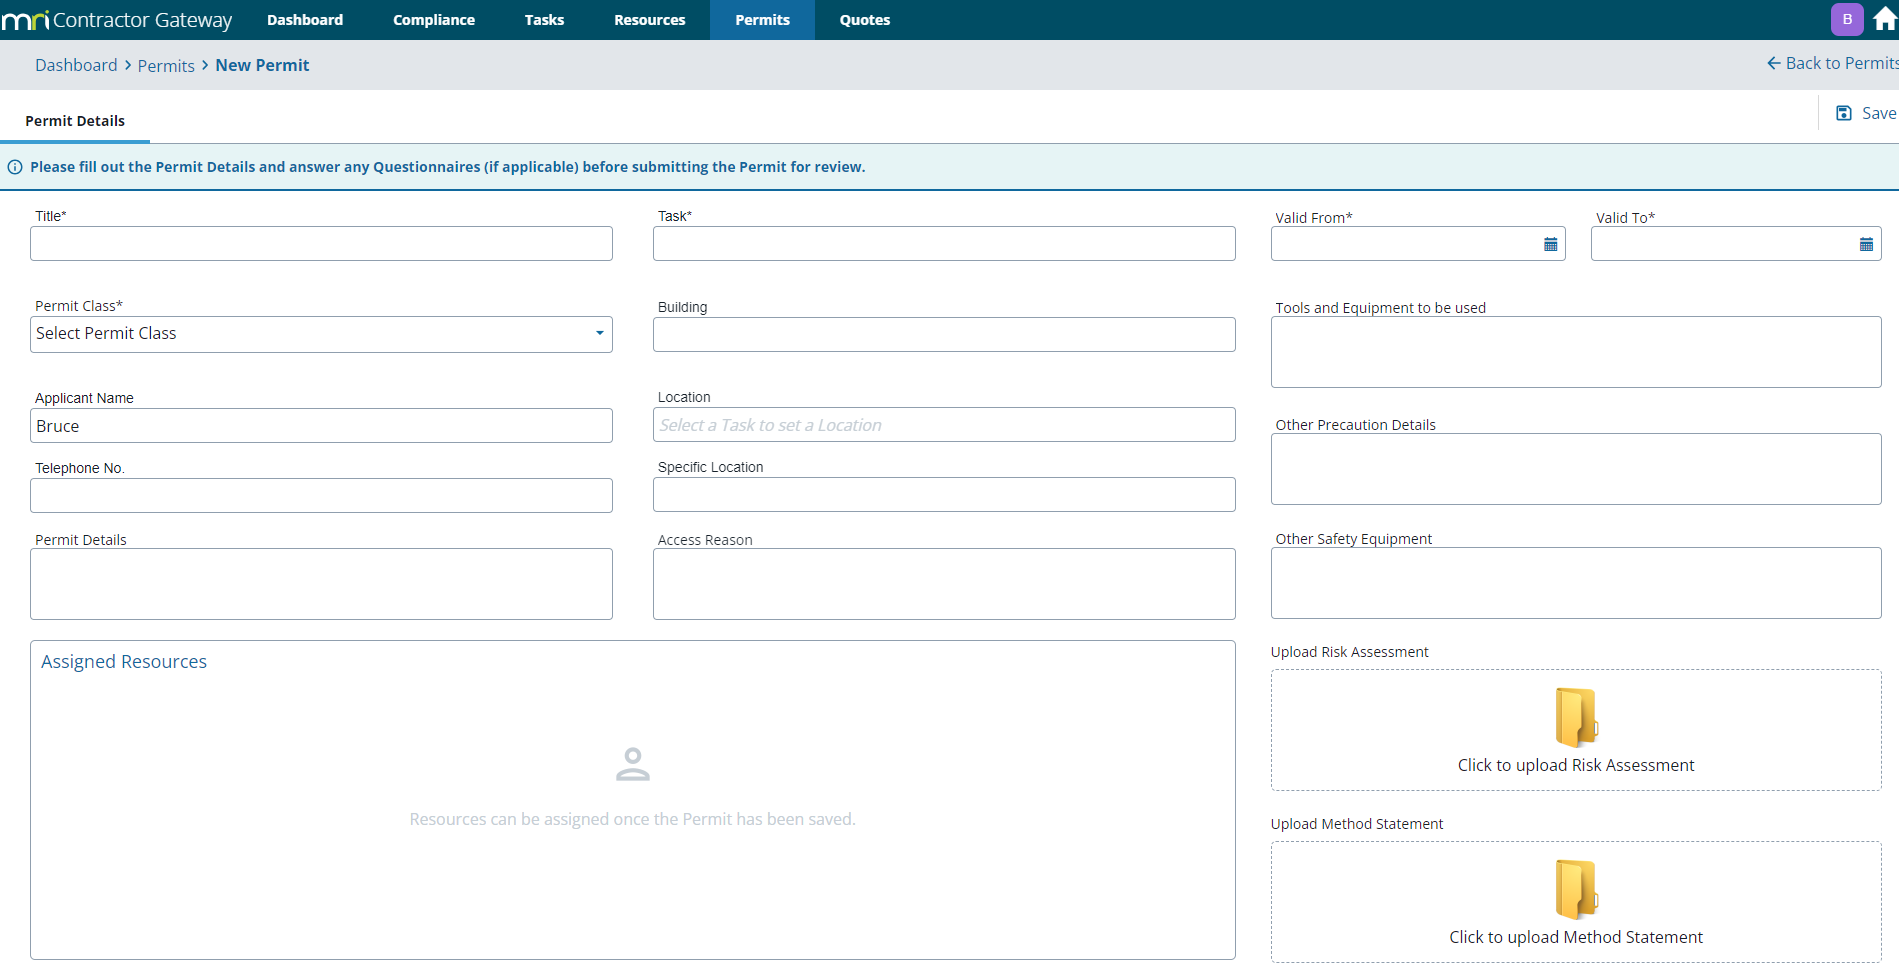
Mandatory fields are marked with a * and are as follows:
- Title - Free type field
- Task - Typing in this field will invoke a filter list of the supplier's Tasks matching the value typed, double click to select the Task. The Building and Location will be populated from the Task selected
- Valid From - Date/Time picker or free type
- Valid To - Date/Time picker or free type
- Permit Class - Dropdown list of Permit Classes published to MRI Dreamscape from MRI Evolution
All other fields are free type entry.
Assigning Resources
The Permit must be saved before a Resource can be assigned. Once saved, an  button will appear in the top-right of the Assigned Resources panel.
Clicking the +Assign Resources button will open an Assign Resources to Permit popup:
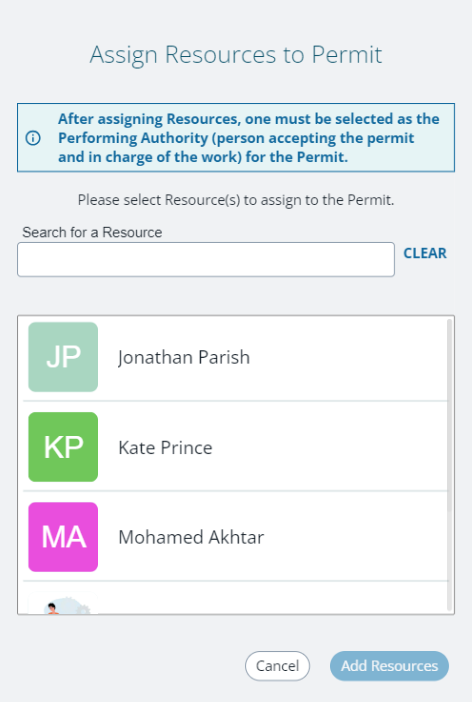
Since the Permit is linked to the previously selected Task, the popup behaves in the same way as the popup for assigning Resources to the same Task. As described here Assigning and unassigning of Resources
Single or multiple Resources can be assigned to the same Permit, simply by clicking their names in the Assign Resources to Permit popup and then clicking the Add Resources button.
Multiple Resources assigned:
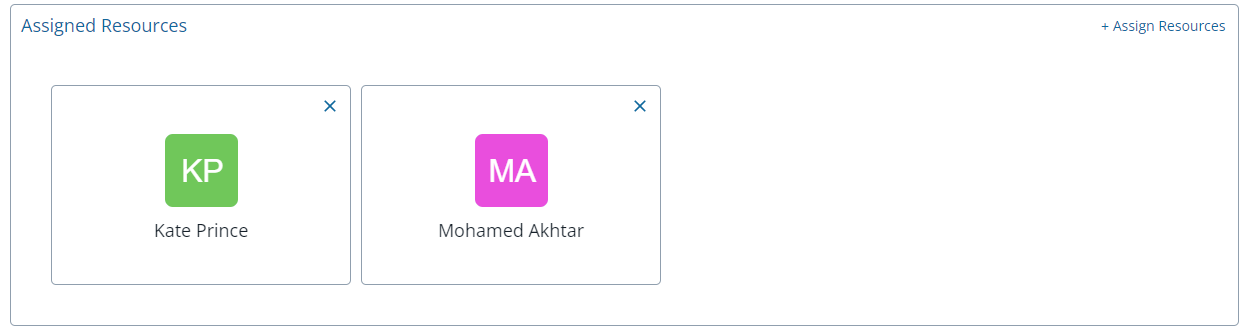
Selecting an assigned Resource will make a  button appear beside the +Assign Resources button.
Clicking the Nominate as in charge button will invoke a confirmation popup:
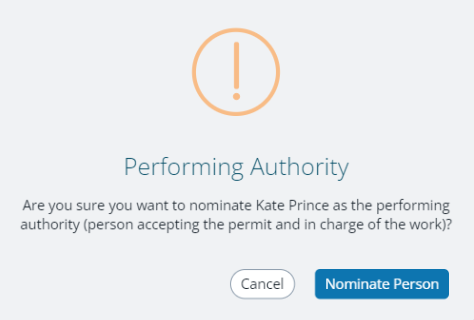
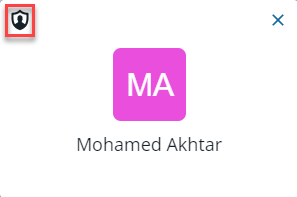
Clicking the Nominate Person button will add a small shield icon against the selected Resource to denote they are the Performing Authority for the Permit:
Upload Permit Documents
A Risk Assessment and/or Method Statement document can be uploaded to MRI Evolution to support the submitted Permit.
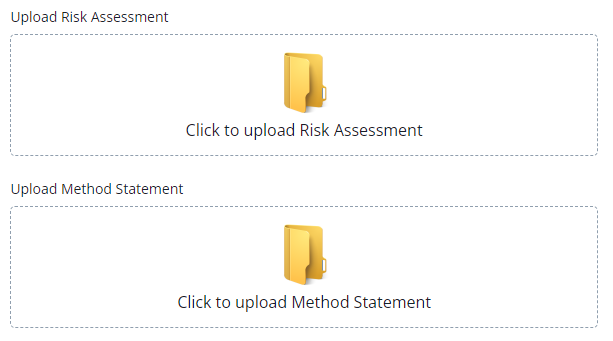
Clicking on either of the folder icons above will open a file browser, allowing the user to select the appropriate file. The screen grab below illustrates files selected for both Risk Assessment and Method Statement:
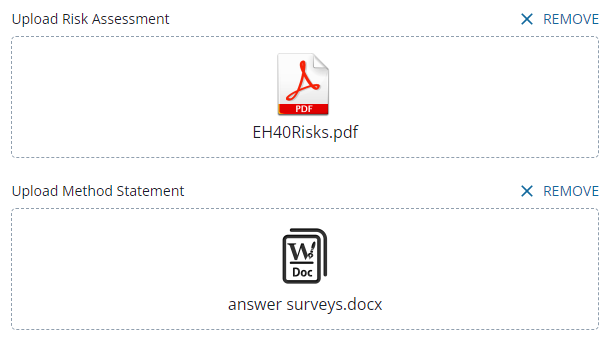
Only one file can be selected for each document type.
The added file(s) can be removed by clicking the  button in either section as required.
Clicking the icon of an added file will open the file browser, allowing the user to select a replacement file if required.
Editing Permits
Clicking a Permit record in the grid will open the Permit record, allowing the user to view and update the Permit as necessary:

Only Permits with a status of Rejected or Awaiting Submission can be edited and only certain fields at that:
- Permit Details
- Specific Location
- Access Reason
- Tools and Equipment to be used
- Other Precaution Details
- Other Safety Equipment
The assigned Resources and supporting documents can also be updated.
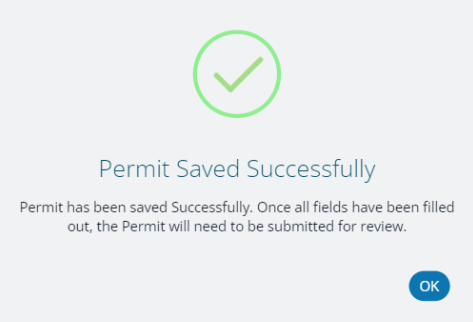
A confirmation will be displayed upon editing the Permit:
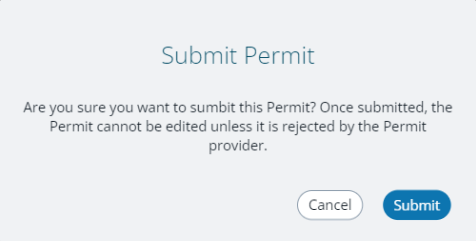
Submitting Permits
Clicking the  button will display a confirmation popup, warning the user that they won't be able to make changes once submitted:
Permits Grid Refresh, Search and filtering
There's a free-type search field, top-right, where users can enter their search criteria. The grid will be filtered to match the values entered as the user types in the field.
The Status dropdown will filter the records in the grid to match the chosen status.
The Building dropdown will filter the records in the grid to match the chosen Building.
The filters can be used in conjunction with each other to further narrow the records displayed in the grid.
If no records match the chosen status, due date or Building specified, the following message is displayed:
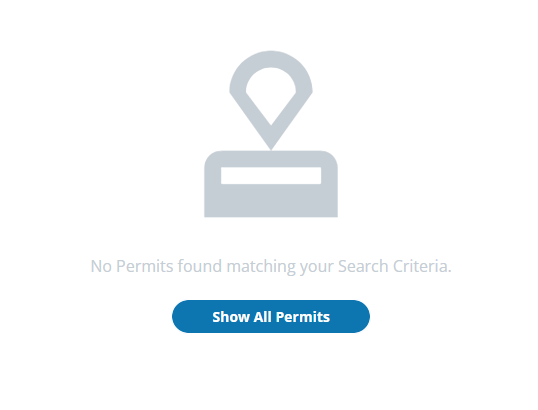
The user can either click the 'Show All Tasks' button or choose different filter options to return records.
Clicking the 'Show All Permits' button will set the Status dropdown back to 'All', remove any Building specified and refresh the grid.
The grid can be sorted by clicking the column heading required. Clicking the heading multiple times will toggle between ascending and descending. Each grid column can be used to sort the grid.
The columns are fixed and cannot be customised to remove or add new ones.
Available from version 1.3.1
-
A refresh button, top-right, has been added to the Permits grid to allow the user to manually refresh the grid:

Permits Grid Paging
