Gateway Resources tab
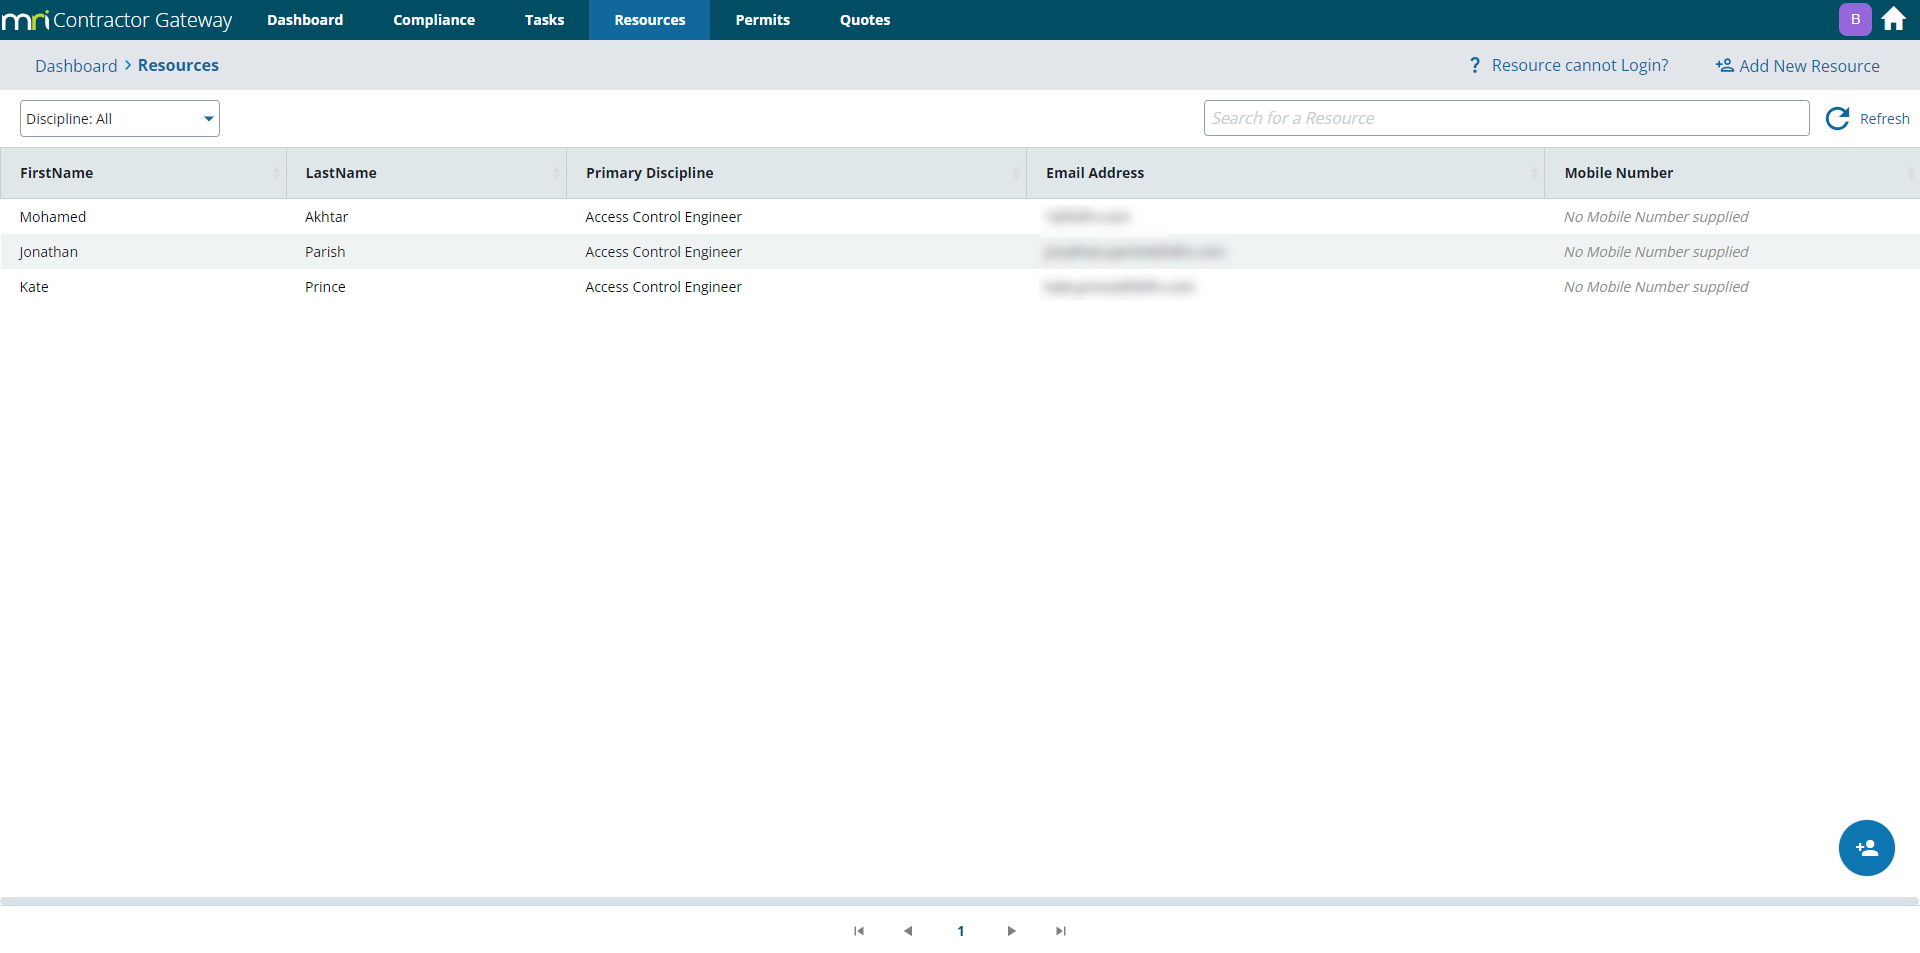
The Resources grid is the area where suppliers maintain and manage their own Resources.
Available from version 1.3
-
Depending on the value of the Create Evolution Resources Only setting in the Contractor Config, Resources created here will either be available in Kiosk, Relay and MRI Evolution or just MRI Evolution
-
When creating Resources from Contractor Gateway, the system will now automatically set the “TeamWorks User” and the “TeamWorks Resource” flags within MRI Evolution
Adding Resources
New Resources can be added by clicking either of two button/links:
-
 - found top-right
 -
 - found bottom-right
Both will open a page to enter details of the Resource:
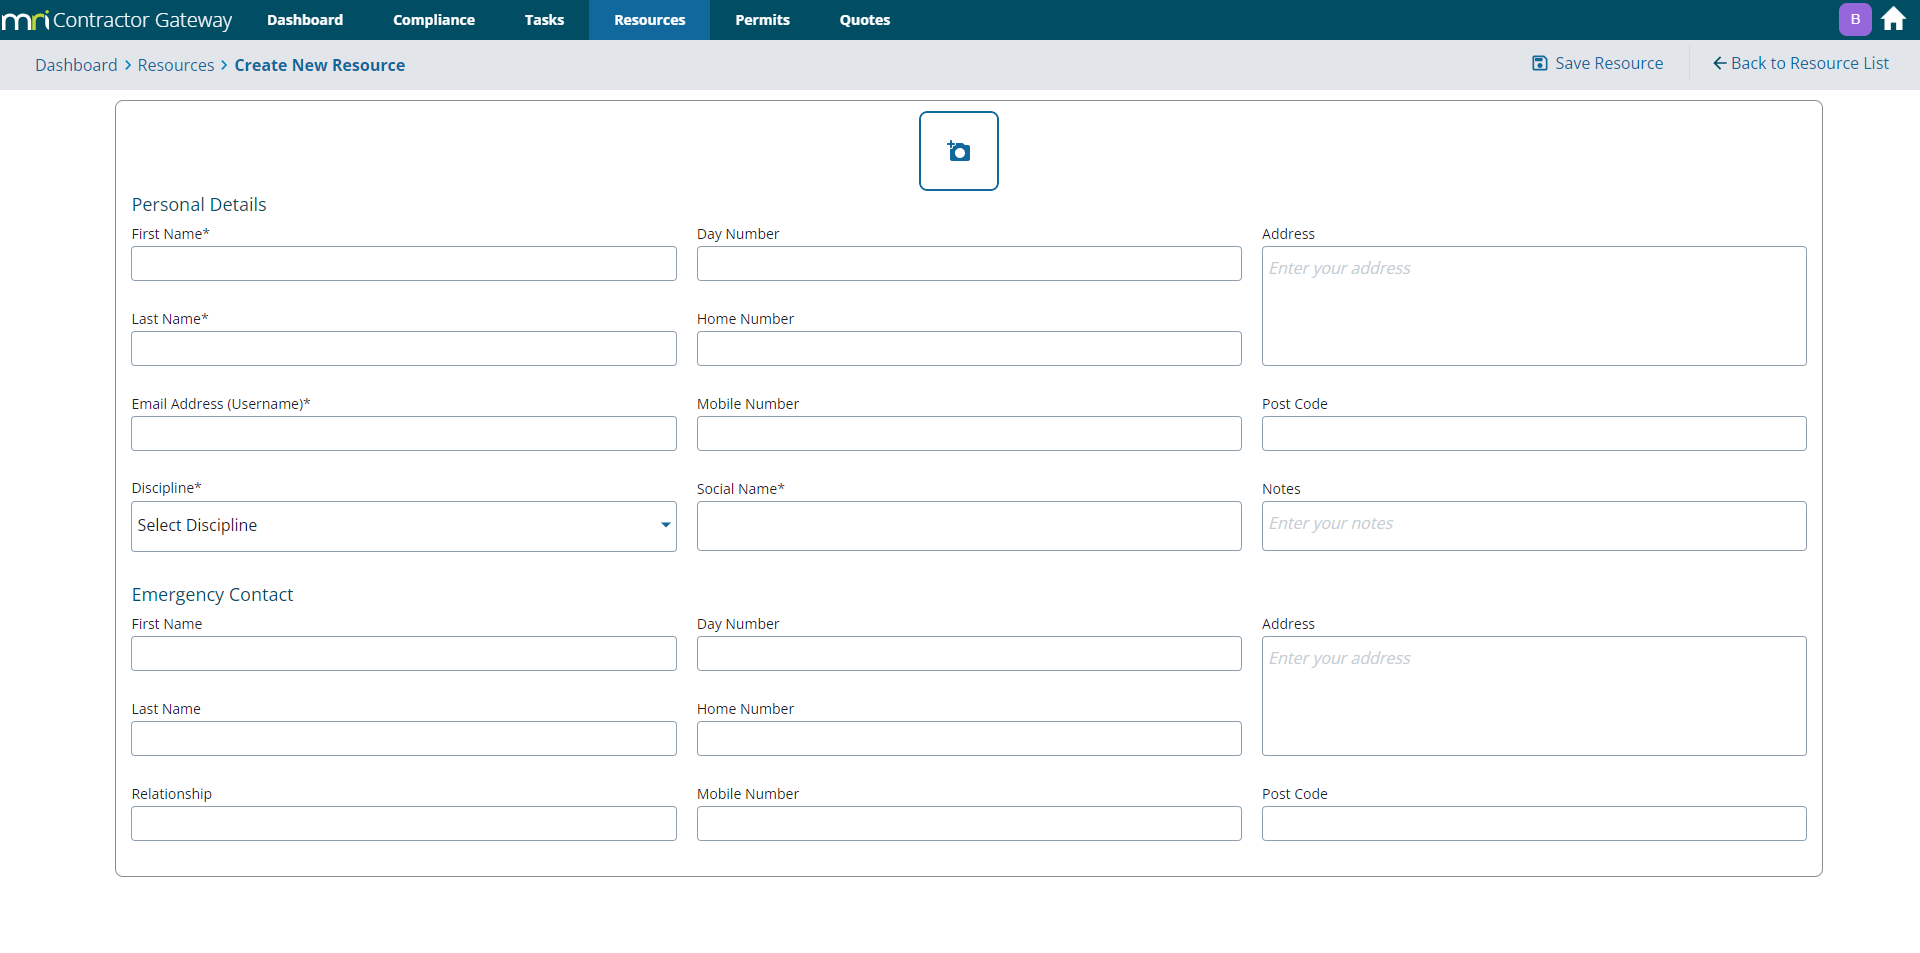
A photo of the Resource can be added by clicking the  button. A file browser will open, allowing the user to select an image for the Resource.
Fields marked with a * are mandatory. For example: First Name*
Once all mandatory fields have been completed, plus any optional fields as required, the user can click the  button. The user is returned to the Resource grid and the new Resource should be present.
The new Contractor Resource will also:
- have an MRI Dreamscape Account created for them with Kiosk and Relay published to them - subject to the value set in the new Contractor Config Setting 'Create Evolution Resources Only'
- be created in MRI Evolution, it will be linked to the correct supplier record but only certain values entered in Gateway will be passed across due to privacy and data protection
- The values passed to MRI Evolution are as follows:
- The unique ID Number created by Gateway
- Supplier
- First and Last names concatenated
- Primary Discipline
- Email address
- Set the “TeamWorks User” and the “TeamWorks Resource” flags
- The values passed to MRI Evolution are as follows:
Clicking a Resource in the grid will open the Resource Dashboard:
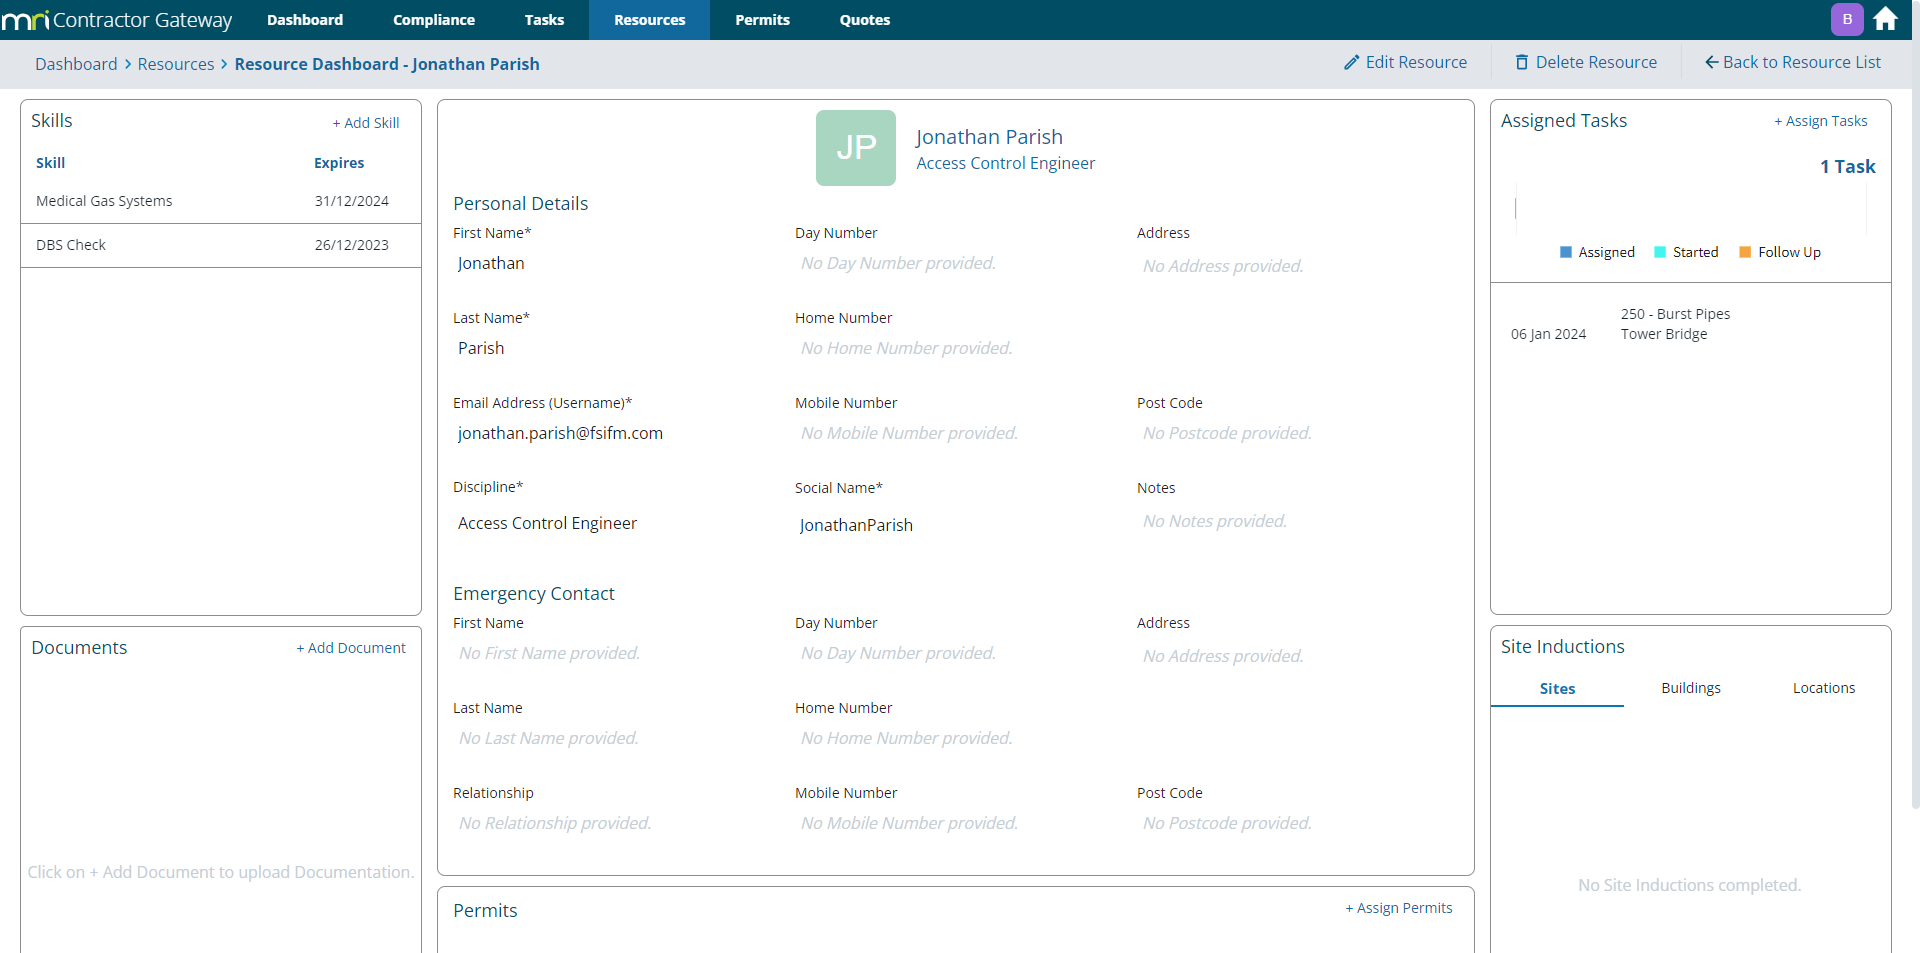
The Resource Dashboard is made up of a central information panel containing Resource data fields and surrounding widgets.
Deleting Resources
Resources can be removed from Gateway by clicking the  button.
A Delete Resource popup will appear:
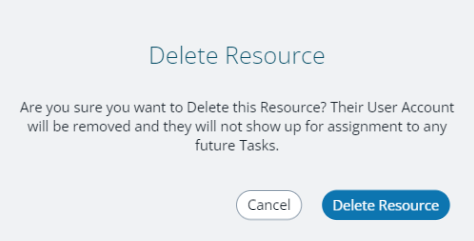
Clicking Cancel will return the user to the Resource Dashboard.
Clicking Delete Resource will display a Delete Resource confirmation message:

Clicking OK will return the user to the Resource grid and the deleted Resource will no longer be present.
The associated Resource record in MRI Evolution will have its status set to Suspended.
Outstanding Tasks
If the Resource has outstanding Tasks assigned to them, the following popup message is displayed:
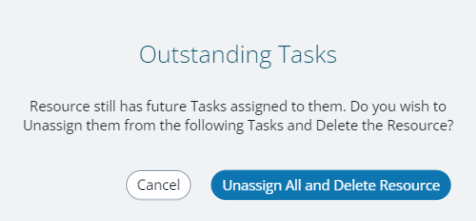
Click 'Unassign All and Delete Resource' button to remove the Resource from the Tasks and delete the Resource.
Data panel
When first opened from the Resource grid, the data fields in the panel are read-only. A user will need to click the  button to change to 'edit mode' and make changes.
Once the required updates to fields have occurred, the user can click the button.
A confirmation message will be displayed:
Skills widget
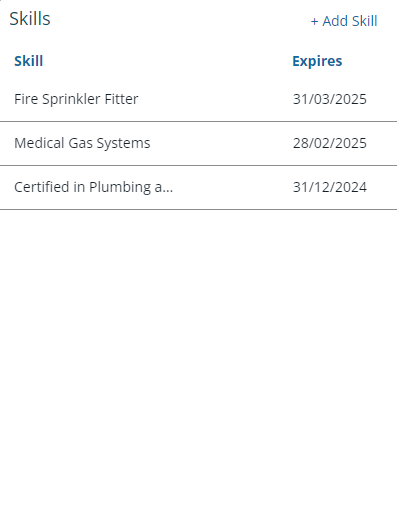
The Skills widget displays a list of Skills records related to the current Resource record and allows the Skills records to be maintained.
The list is ordered by the expiry date (Skill Valid To) of the Skill records, descending.
Clicking the '+ Add Skill' button, top-right, will open the Add Skill popup:
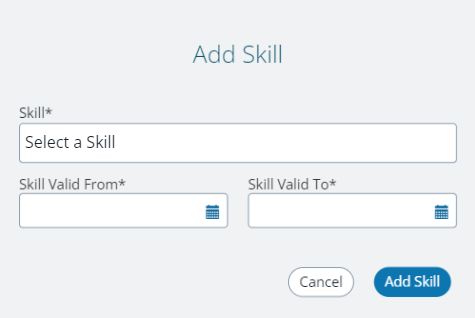
Skill, Skill Valid From and Skill Valid To are mandatory fields.
The Skill field is a dropdown containing Skills that have been published to Gateway from MRI Evolution. It is not possible to free-type a Skill value.
The Skill Valid From and Skill Valid To fields defines the validity period of the Skill. A Resource will not meet a Task Skill Requirement if the Valid From date is in the future or the Valid To date is in the past (Skill expired).
The Cancel button will discard any entered values and return the user to the Resource Dashboard.
With valid values entered for Skill, Skill Valid From and Skill Valid To, the Add Skill button will save the Skill record:
The user is returned to the Resource Dashboard and the new Skill will be present in the Skills widget list. The Skill will also be added to the Resource record in MRI Evolution.
Clicking on an item in the Skills list will open a popup allowing the Skill record to be viewed and updated where necessary:
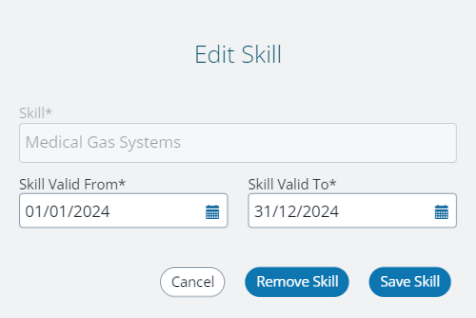
Only the Skill Valid From and Skill Valid To fields can be edited.
The Cancel button will discard any updated values and return the user to the Resource Dashboard.
The Remove Skill button will open a Remove Skill confirmation popup:
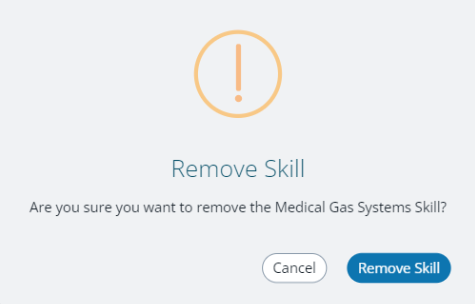
Clicking 'Cancel' will return the user to the previous popup.
Clicking 'Remove Skill' will close the popup and return the user to the Resource Dashboard, the Skill will no longer be present in the widget.
Note | Removing a Skill in Gateway will not remove it from the Resource's record in MRI Evolution.
Documents widget
Available from version 1.3
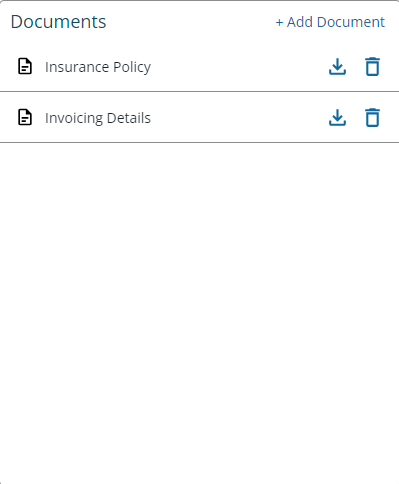
The Documents widget displays a list of Documents added to the current Resource in Gateway.
Sort order - Document Name ascending.
The actual file associated with a Document cannot be opened directly from the Documents widget but they can be downloaded by clicking the  button.
Adding Documents
Clicking the '+ Add Document' button, top-right, will open the Add Resource Document popup:
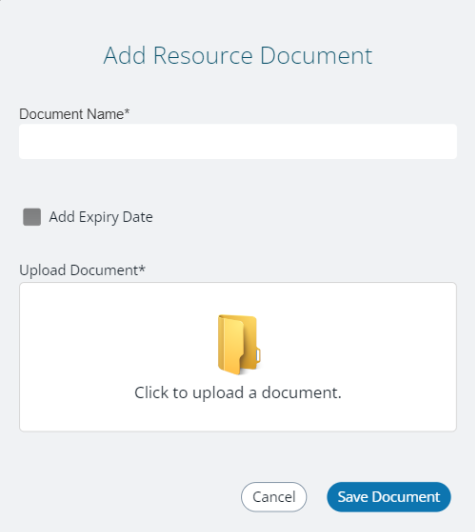
Document Name is a mandatory field.
Adding an expiry date is optional. Click the checkbox to open a calendar picker and choose a date as appropriate.
Clicking 'Click to upload a document' will open a standard file browser to allow file selection.
A Document must be selected in order to save the record.
Clicking 'Save Document' will close the Add Resource Document popup (depending on validation of course) and return the user to the Resource Dashboard, the Documents widget will be refreshed and an MRI Evolution integration workflow will upload the new Document to MRI Evolution and automatically assign it to the Resource.
Editing Documents
Clicking a Document record in the list will open the Edit Document popup.
A Document's file can be removed and replaced by another by clicking the 'Remove Document' button, clicking 'Click to upload a document' and selecting a different file in the file browser.
Clicking the 'Delete' button will open the Delete Document confirmation popup:
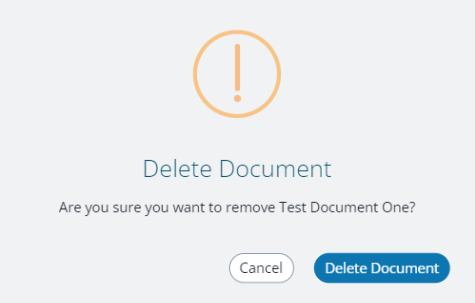
Clicking 'Cancel' will return the user to the previous popup.
Clicking 'Delete Document' will close the popup and return the user to the Dashboard, the Document will no longer be present in the widget.
Note | Deleting a Document in Gateway will not remove it from the supplier's record in MRI Evolution.
Permits widget
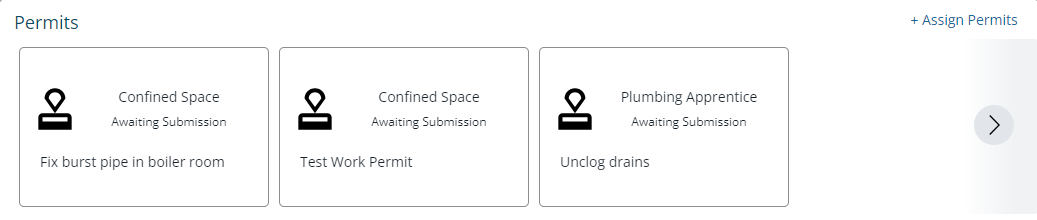
The Permits widget displays the Permits assigned to the current Resource.
Clicking the '+ Assign Permits' button, top-right, will open the Assign Permit popup:
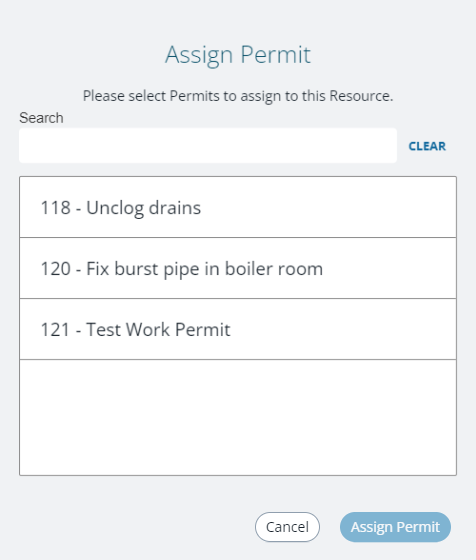
The popup contains a list of Permit records, filtered as follows:
- status equal to Active or Rejected
- not already assigned to the current Resource
- the Resource meets any Skill or Task assignment requirements
The list can be further filtered by typing values in the Search field.
Clicking 'Cancel' will return the user to the Resource Dashboard.
A Permit must be selected in the list in order for the 'Assign Permit' button to be enabled. Clicking 'Assign Permit' will close the popup and return the user to the Resource Dashboard, the assigned Permit will appear in the Permits widget.
Clicking a Permit in the widget will open the Permit record, allowing a user to view the Permit details and update as necessary.
Assigned Tasks widget
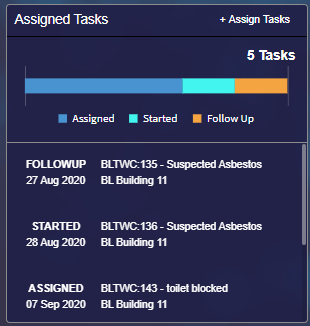
The Task widget displays a list of not yet complete Tasks assigned to the current Resource.
Sort order - closest due date first.
The screen grab below shows the colour indicator bar and the categories that make it up.
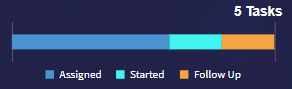
- Assigned - Task(s) that have been allocated to the current Resource
- Started - Task(s) that have been marked as started in Contractor Kiosk
- Follow Up - Task(s) that have been marked in Contractor Kiosk as needing a follow up Visit in order to complete the Task(s)
Clicking a Task in the widget will open the Task record, allowing a user to view the Task details and update as necessary.
Once a Task has been completed, without Follow Up, it will no longer appear in the Task widget.
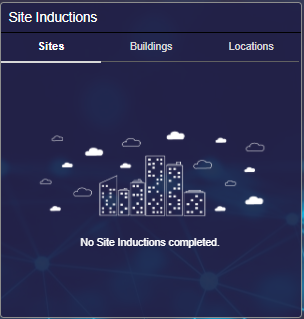
Site Inductions widget
Resource Grid Refresh, Search and filtering
There's a free-type search field, top-right, where users can enter their search criteria. The grid will be filtered to match the values entered as the user types in the field.
The Discipline dropdown contains a list of primary disciplines derived from the supplier's Resource records. Therefore there should always be at least one Resource record returned for a given discipline.
The grid can be sorted by clicking the column heading required. Clicking the heading multiple times will toggle between ascending and descending. Each grid column can be used to sort the grid.
The columns are fixed and cannot be customised to remove or add new ones.
Available from version 1.3.1
-
A refresh button, top-right, has been added to the Resources grid to allow the user to manually refresh the grid:

Resource Grid Paging

The paging buttons allow navigation to the first, previous, next and last page.