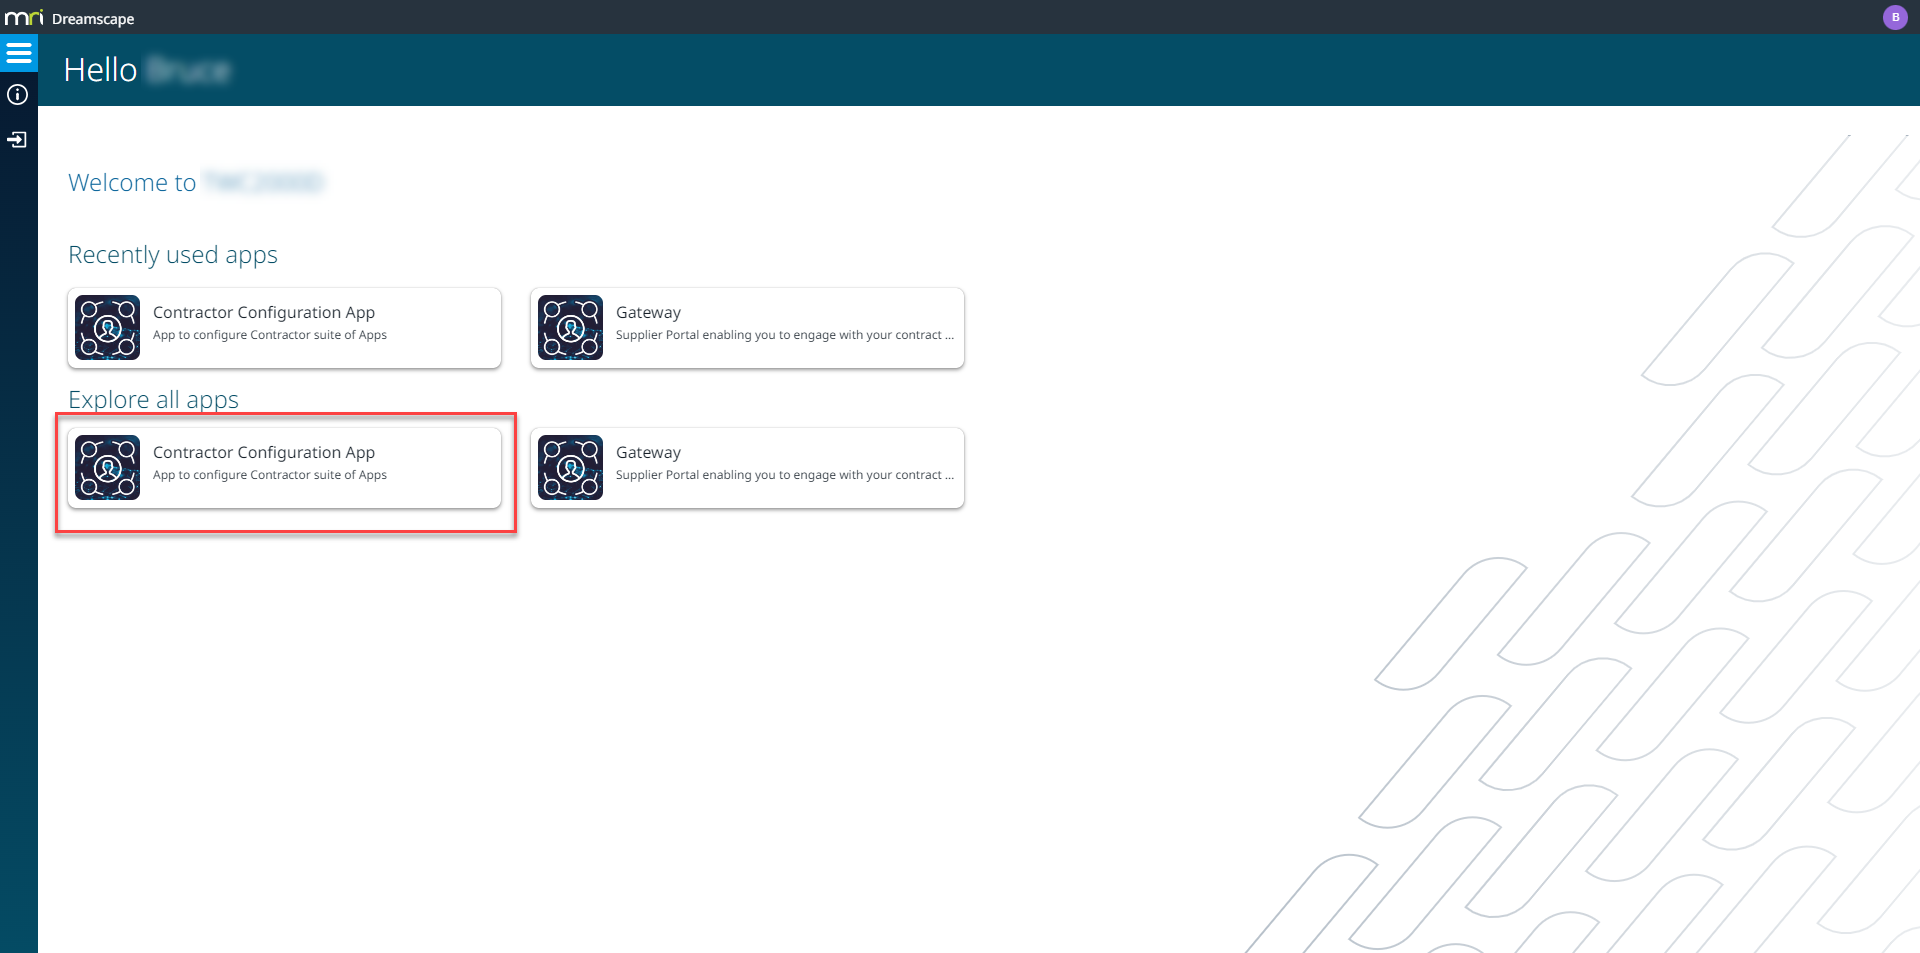
Contractor Configuration App
The Contractor Configuration App is intended for system administrators and should only be published to users with the necessary knowledge, due to the potential to adversely affect the operation of the Contractor suite of apps.

Evolution Systems
Evolution Systems is the place where system administrators create and maintain a whole host of settings and preferences to facilitate the interface between MRI Evolution and the suite of Contractor apps.

Click the Evolution Systems link, highlighted above, to open a grid of MRI Evolution instances. New instances can be created and existing instances can be maintained

Viewing and Maintaining Linked Evolution Systems
Existing MRI Evolution instance records can be opened by clicking the relevant row in the grid. The Evolution System settings page will be opened. The page contains the integration settings required to facilitate the interaction between the systems:
Evolution Settings Section
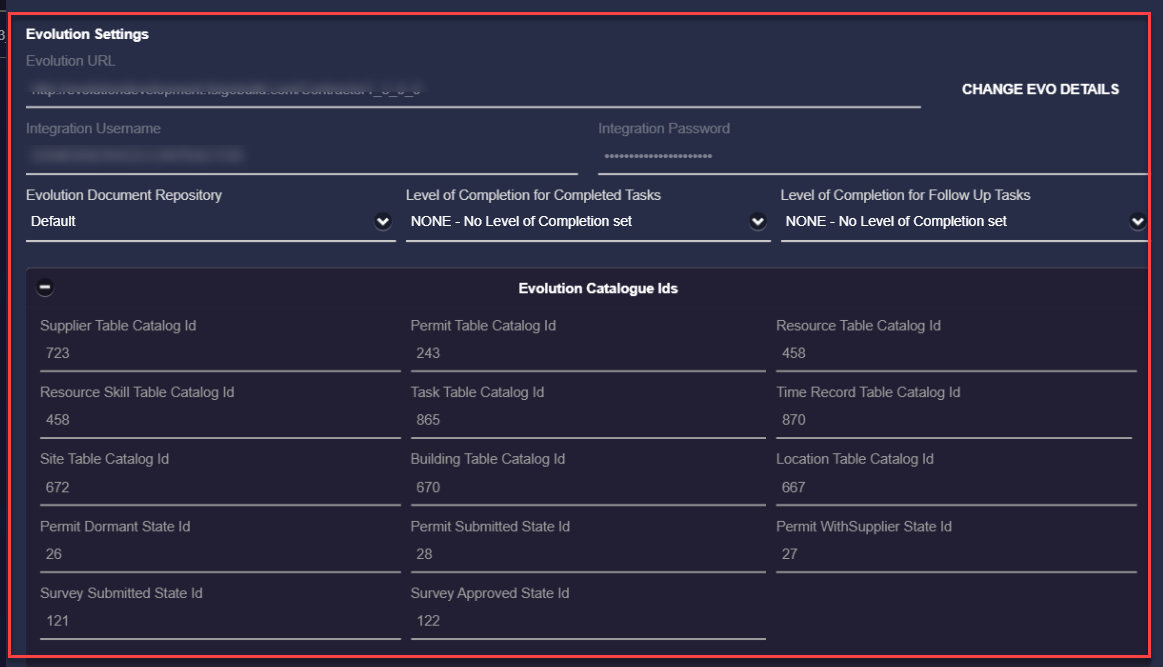
Clicking the  button will change the page to a mode where certain fields can be updated, other fields can be updated at any time.
Evolution URL
Enter the URL of the MRI Evolution system that will be integrated with Contractor.
Integration Username and Password
Enter the MRI Evolution user credentials that will be used to integrate Contractor and MRI Evolution.
Evolution Document Repository
Select the MRI Evolution document repository from the dropdown. This is where the documents passed back from Contractor are to be stored, such as completed surveys.
Level of Completion for Completed Tasks - Available from version 1.1
Select from the dropdown the system default MRI Evolution Level Of Completion to be set for Tasks that are completed, in Contractor.
A Supplier Specific Level Of Completion for Completed Tasks can be defined to override the system default.
Level of Completion for Follow Up Tasks - Available from version 1.1
Select from the dropdown the system default MRI Evolution Level Of Completion to be set for Tasks that are marked as requiring a follow-up, in Contractor.
A Supplier Specific Level Of Completion for Follow Up Tasks can be defined to override the system default.
Evolution Catalogue Ids
This section contains the MRI Evolution table catalogue entity Ids that are required for Contractor to retrieve and populate data in MRI Evolution. The values are a fetched by a workflow upon running a test connection.
Dreamscape Integration Details Section

MRI Dreamscape Integration User Id
Enter the User Id of the MRI Dreamscape user that will be used to integrate Contractor and MRI Evolution.
MRI Dreamscape Sub Tenant for Evolution Data
Enter the MRI Dreamscape Sub Tenant Id to be used to integrate Contractor and MRI Evolution.
Enable AMQP Messaging for Events?
Check box to enable/disable using the Advanced Message Queuing Protocol (AMQP) middleware to process the Event messages between Contractor and MRI Evolution.
Creating A New Linked Evolution System
New MRI Evolution systems can be added by clicking the  button from the grid page.
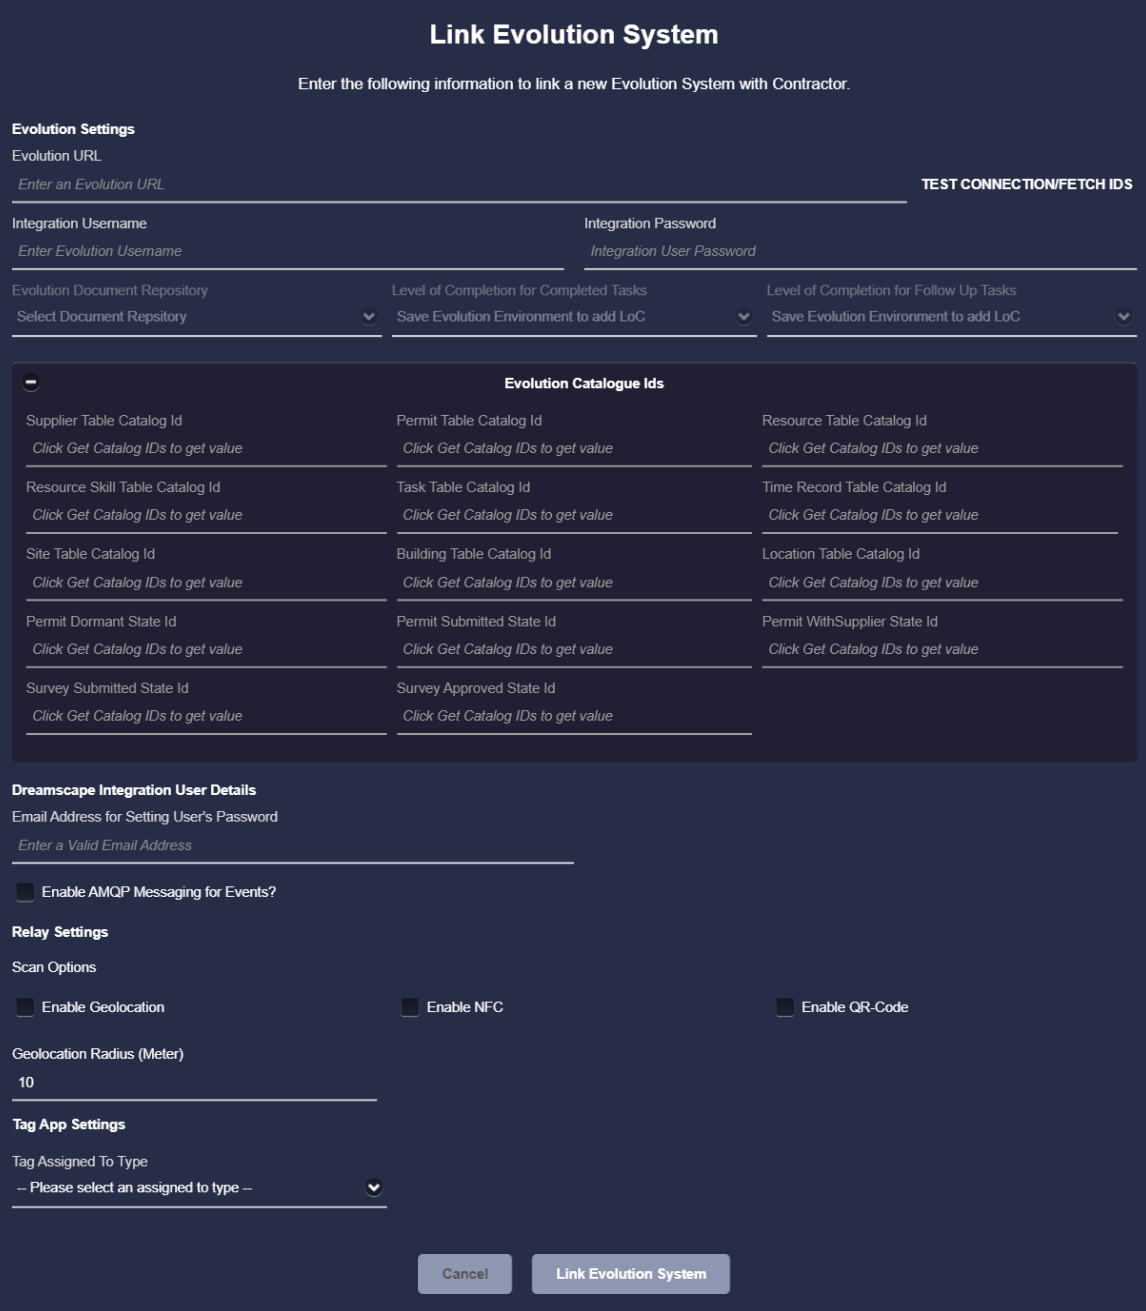
The fields described above for maintaining existing MRI Evolution instances are the same as for creating a new instance with the exception of the MRI Dreamscape Integration User Id field. When creating a new instance, the field is for entering an email address. This email address is used to generate the 'new user' emails in order to set a password and create an account that will be used as the Dreamscape Integration User.
Relay Settings
Near the bottom of the Evolution System settings page is a section called Relay Settings, highlighted below.
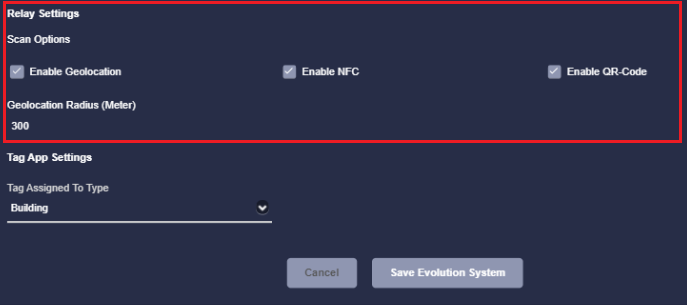
Scan Options - Available from version 1.2
The three Tag Scan Options check boxes are as follows:
- Enable Geolocation
- Enable NFC
- Enable QR Code
The check boxes control visibility of the scan icons in Relay. With all three checked, Relay would look like this:
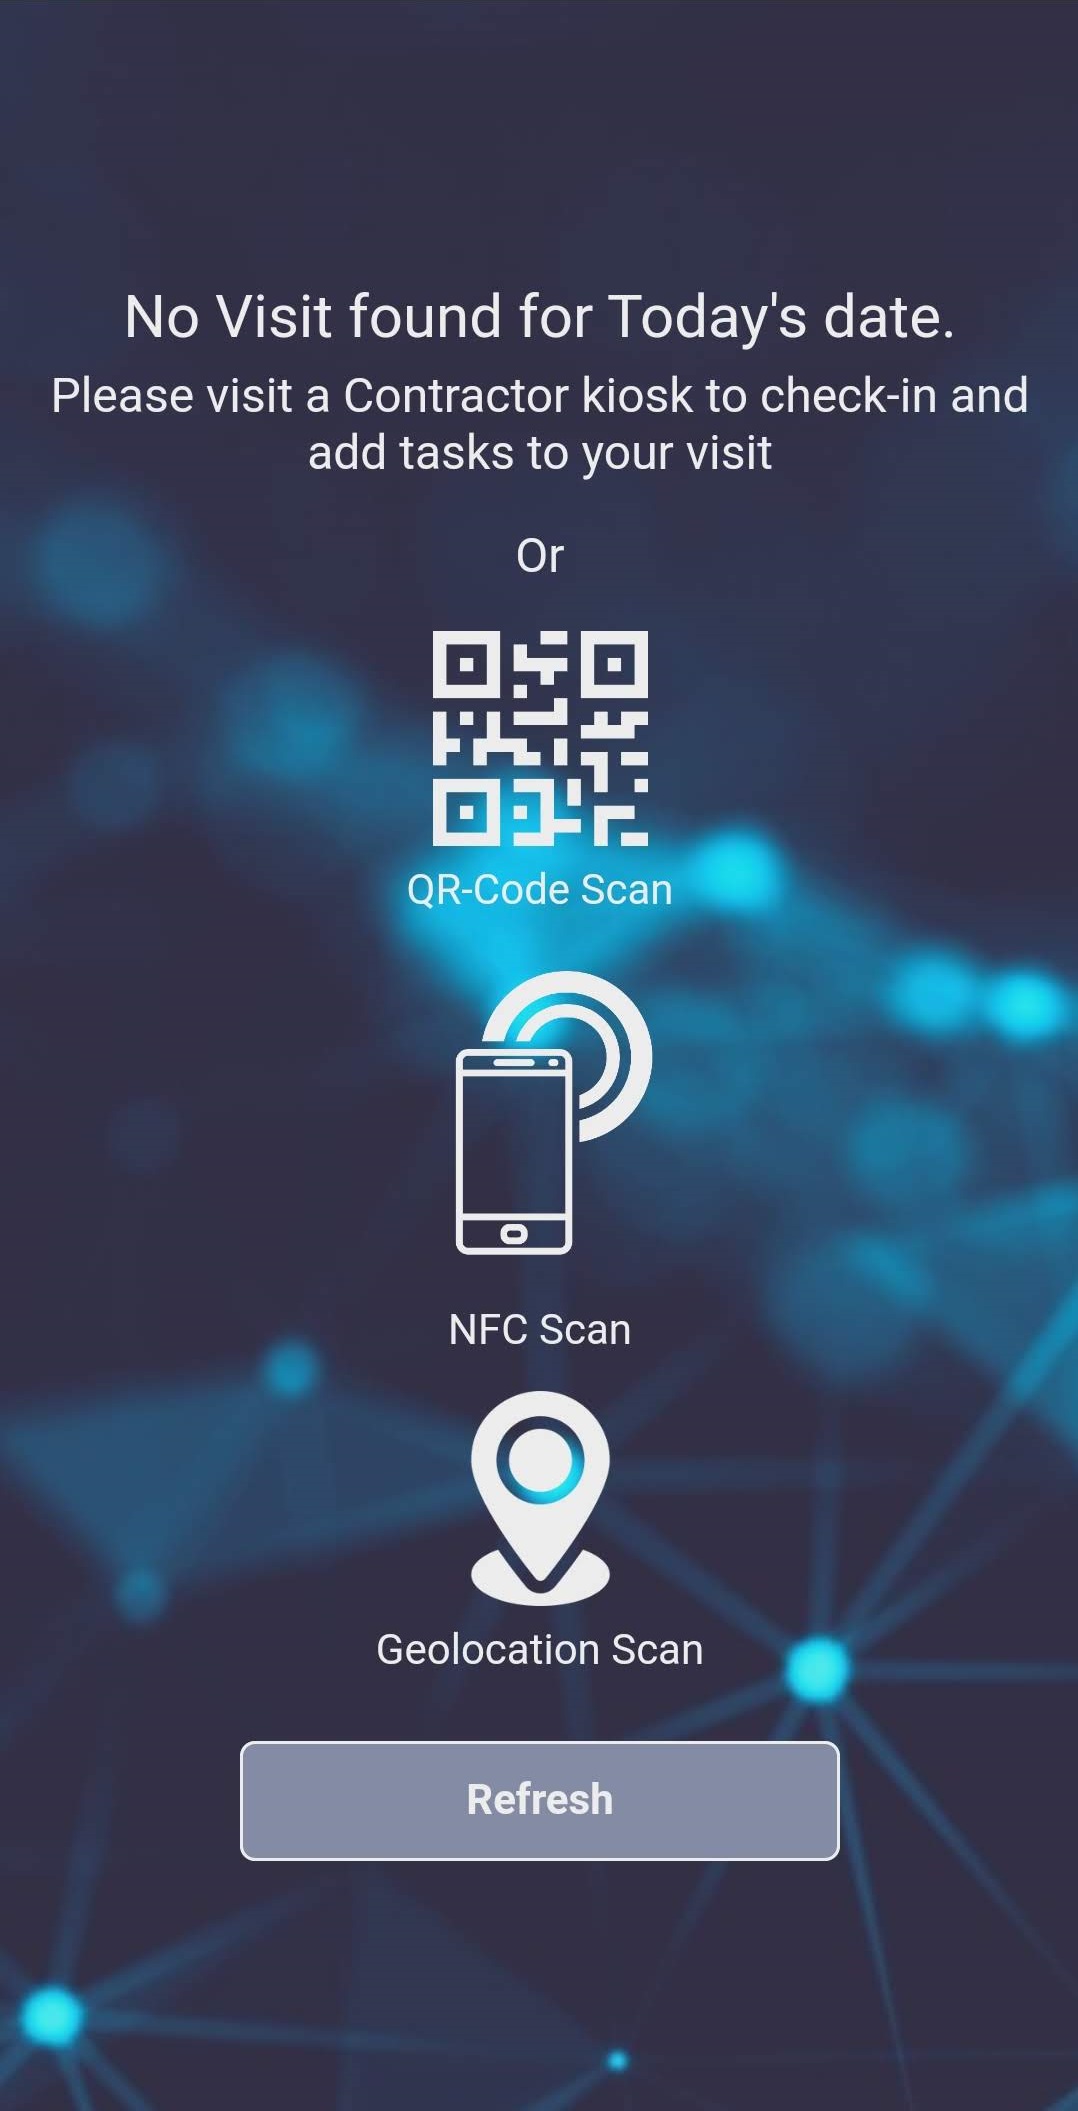
The Scan Options not relevant to the types of Tags used by the client should be unchecked so the icons will not appear in the Relay app.
Note - Geolocation scans will only work for Building Tags, since they are the only entity where the latitude / longitude are stored in MRI Evolution
Geolocation Radius (Meter)
The Geolocation Radius option defines the distance in meters a user can be away from a Building's known latitude and longitude when they perform a Geolocation Scan in Relay.
If the user's Geolocation Scan position shows they are within the defined radius of a Building then the matching Building will be used to retrieve Tasks in Relay.
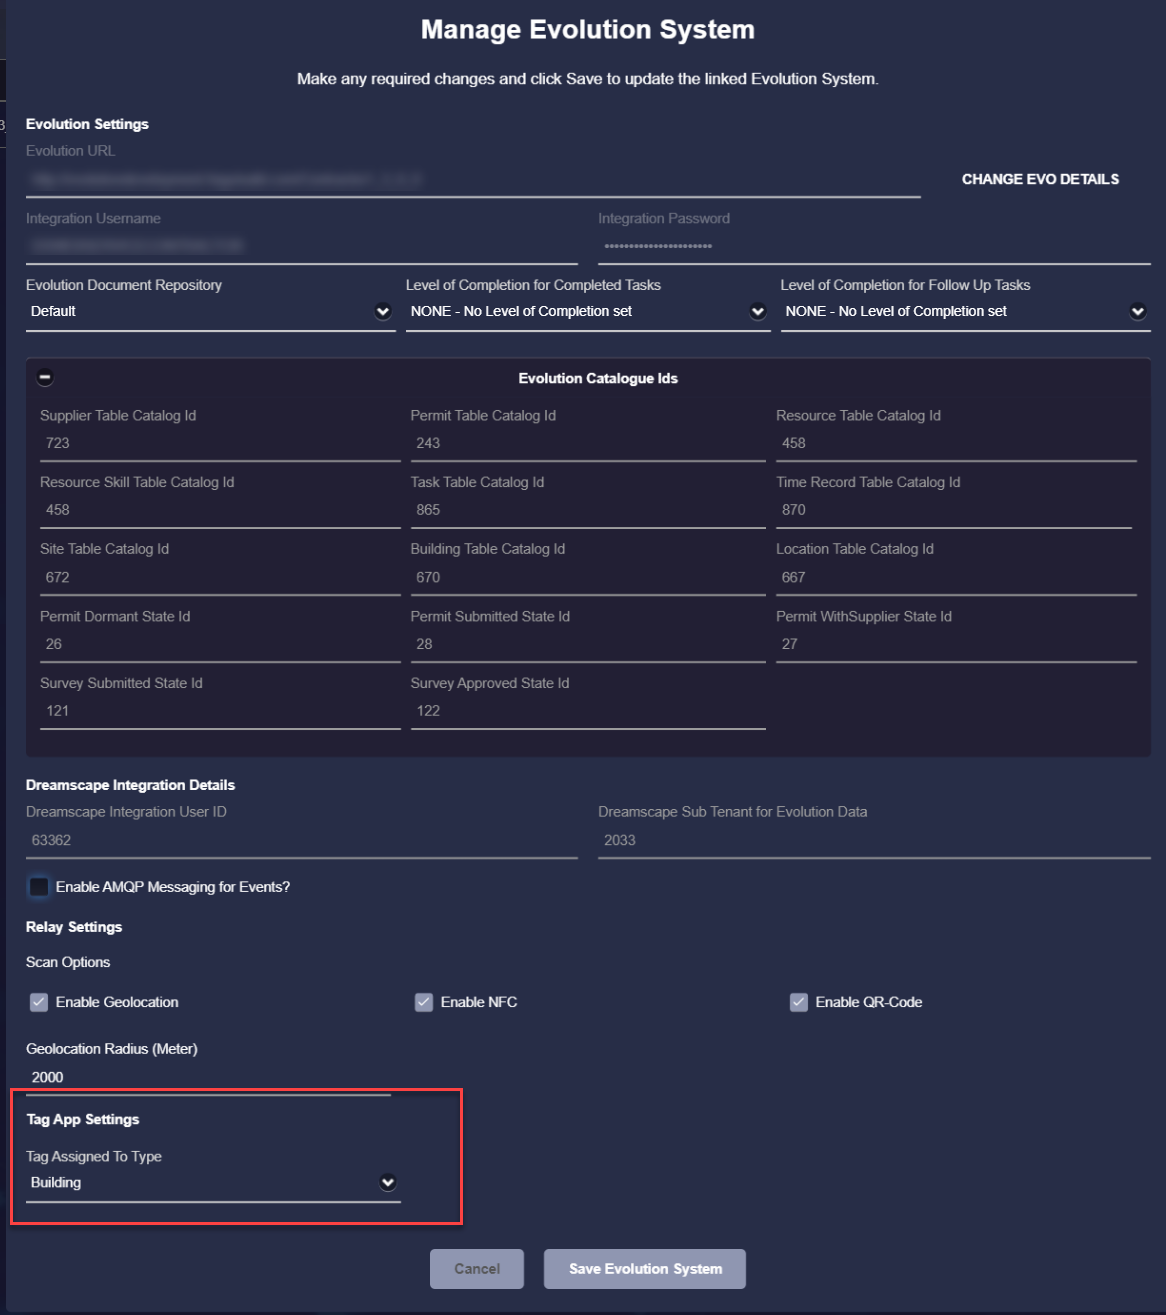
Tag App Settings
Near the bottom of the Evolution System settings page is a section called Tag App Settings, highlighted below.
Available from version 1.2
The only field in the section is called Tag Assigned To Type, it is a drop down containing options for Site, Building and Location.
The selection made here and the physical location of the Tags to be captured within the client's properties must consistent.
In other words, the actual Tags should be placed in either all Sites, all Buildings or all Locations and the Tag Assigned To Type drop down set to the same.
The choice made will define what filter options are displayed in the Tagging App, which MRI Evolution entities are displayed and ultimately linked to when capturing Tags:
- Site
- Site drop down displayed, containing Site records from the MRI Evolution instance
- Site will be mandatory
- Building
- Site drop down displayed, containing Site records from the MRI Evolution instance
- Building drop down, containing Site records from the MRI Evolution instance, filtered by the Selected Site
- Building will be mandatory
- Location
Site drop down displayed, containing Site records from the MRI Evolution instance
- Building drop down, containing Site records from the MRI Evolution instance, filtered by the Selected Site
- Location drop down, containing Location records from the MRI Evolution instance, filtered by the Selected Building
- Location will be mandatory
Warning - If the Tag Assigned To Type drop down value is changed it will invalidate any Tags already captured and the process of capturing the Tags will have to be repeated.
Suppliers
Suppliers is the place where system administrators maintain the Supplier specific settings and preferences necessary for Contractor.

Click the Suppliers link, highlighted above, to open a grid of Contractor on-boarded MRI Evolution Suppliers.

Click on a Supplier record in the grid to open the Manage Supplier page:
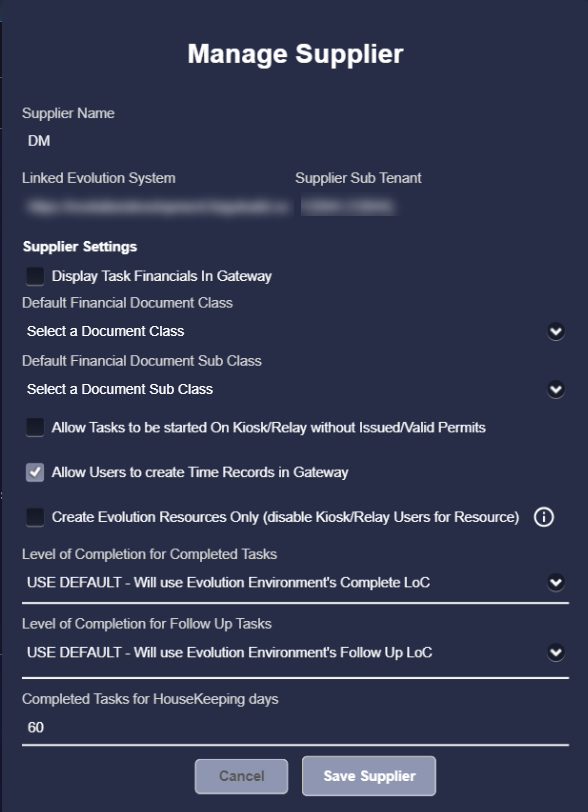
The upper part of the page displays read only details of the Supplier's name, MRI Evolution URL and sub tenant. The lower part contains updatable settings.
Supplier Settings
Allow Tasks to be started ON Kiosk/Relay without Issued/Valid Permits
Checkbox to enable/disable the ability to start a Task in Kiosk or Relay without an issued or valid Work Permit.
Allow Users to create Time Records in Gateway - Available from version 1.3
Checkbox to enable/disable the ability for users to create Time Records against their Tasks in Gateway.
Create Evolution Resources Only (disable Kiosk/Relay Users for Resource) - Available from version 1.3
Enabling this setting will disable Kiosk/Relay user creation. Tasks will need to be completed in Gateway, MRI Evolution or another connected App, such as MRI Evolution Go.
Level of Completion for Completed Tasks - Available from version 1.1
Select from the dropdown the MRI Evolution Level Of Completion to be set for Tasks that are completed by the Supplier's Resources in Contractor.
The value defined here will override the system default Level of Completion for Completed Tasks, if different.
Level of Completion for Follow Up Tasks - Available from version 1.1
Select from the dropdown the MRI Evolution Level Of Completion to be set for Tasks that are marked as requiring a follow up Task by the Supplier's Resources in Contractor.
The value defined here will override the system default Level of Completion for Follow Up Tasks, if different.
Gateway Users
Gateway Users is the place where system administrators can view their Contractor Gateway users.

Click the Gateway Users link, highlighted above, to open a grid of Gateway users.
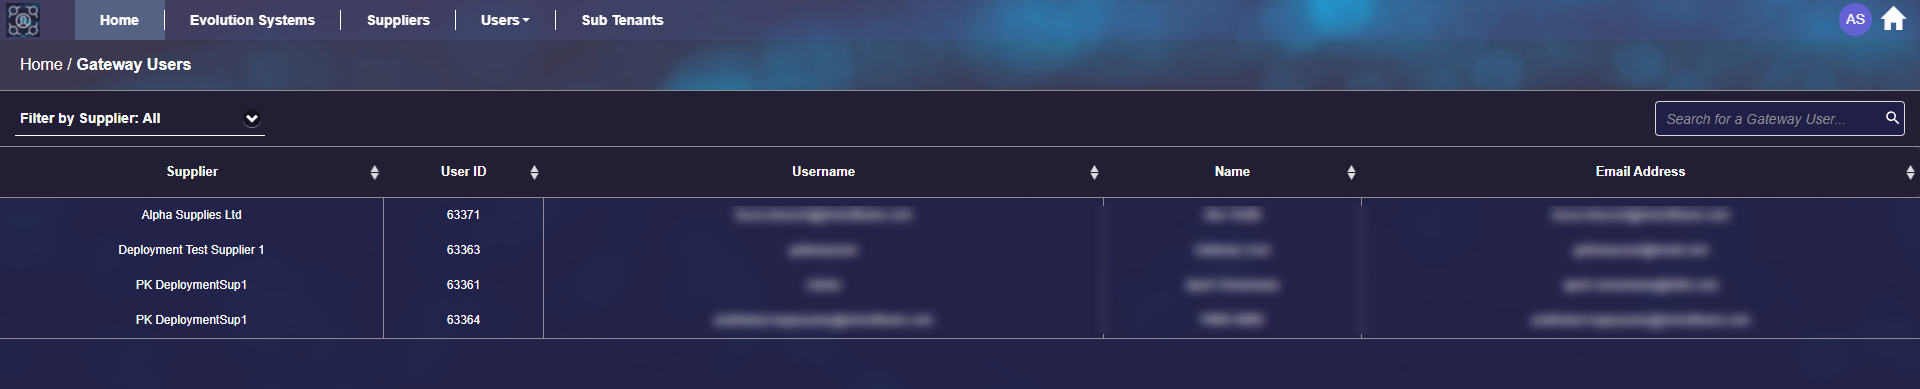
The grid of Gateway Users can be filtered and sorted but the records cannot be edited nor new ones created here. Gateway Users are created and maintained in the Contractor Admin sub navigation in the relevant on-boarded Supplier's input panel, within the MRI Evolution system.
Kiosk Users
Kiosk Users is the place where system administrators can view their Contractor Kiosk users.
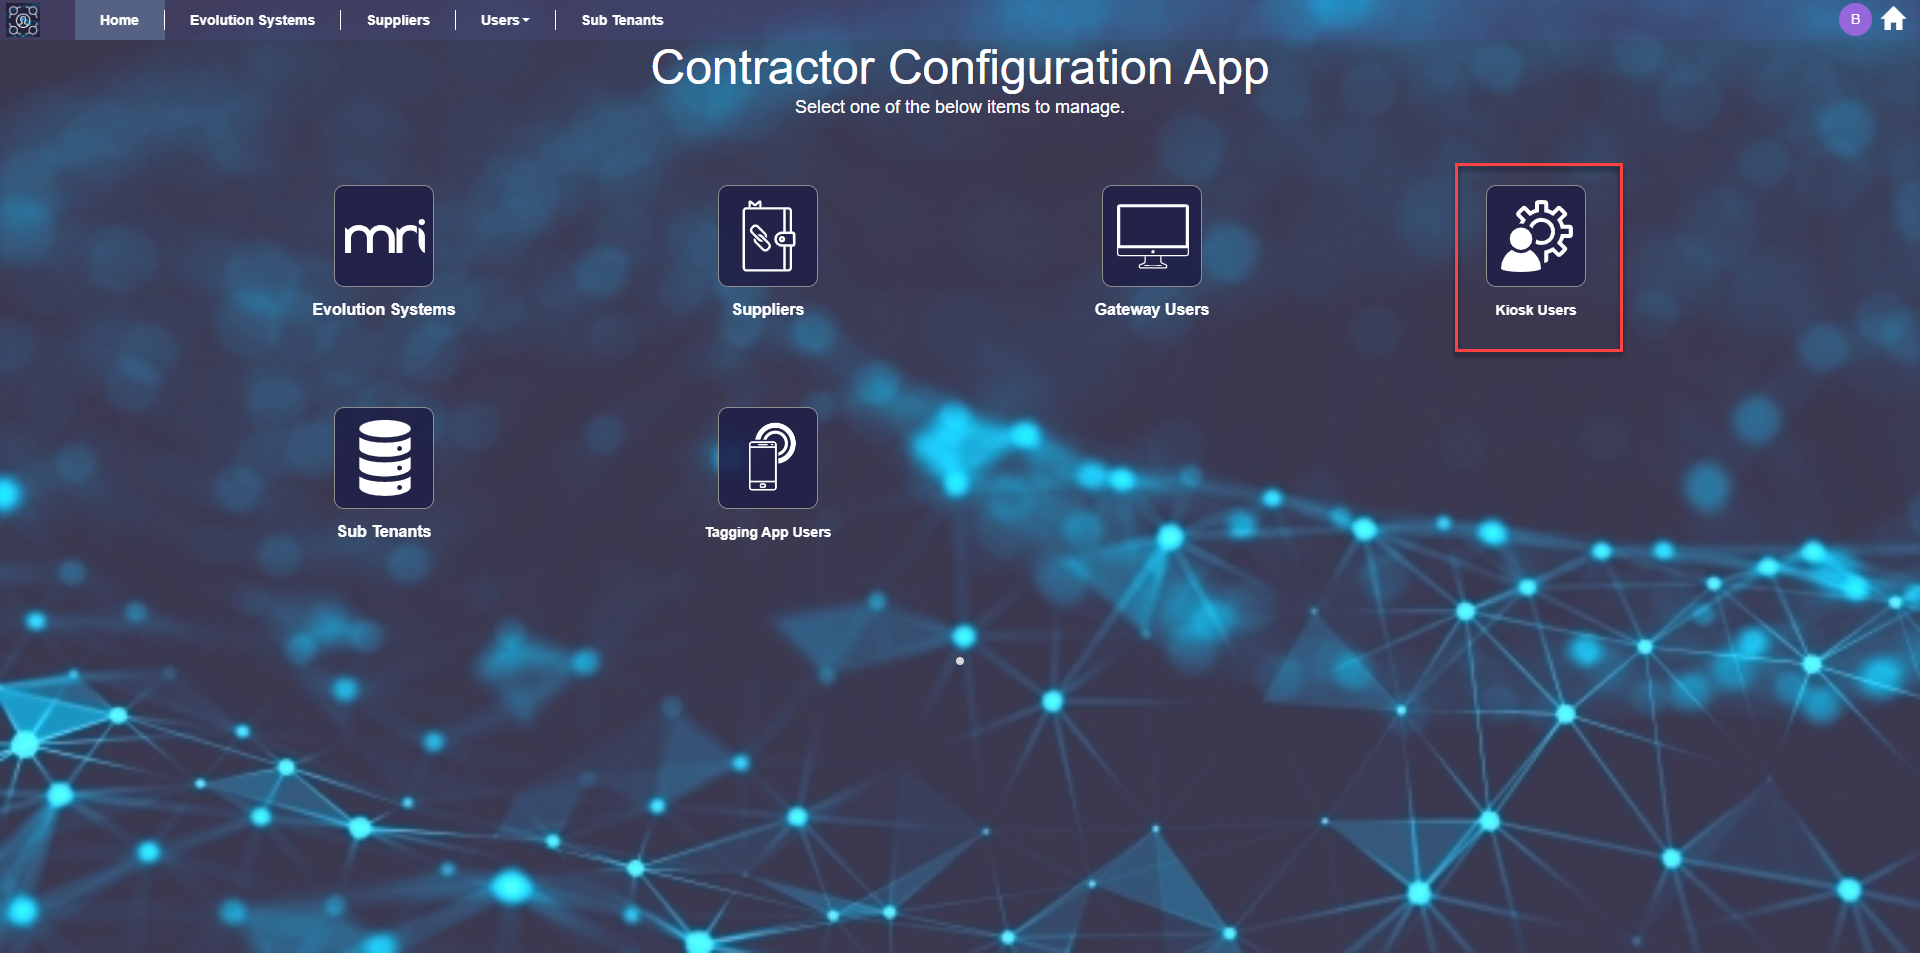
Click the Kiosk Users link, highlighted above, to open a grid of Kiosk users.

The grid of Kiosk Users can be filtered and sorted but the records cannot be edited nor new ones created here. Kiosk Users are created when a Resource is added in Gateway.
Sub Tenants
Sub Tenants is the place where system administrators can view their Contractor Sub Tenants.

Click the Sub Tenants link, highlighted above, to open a grid of Contractor Sub Tenants.
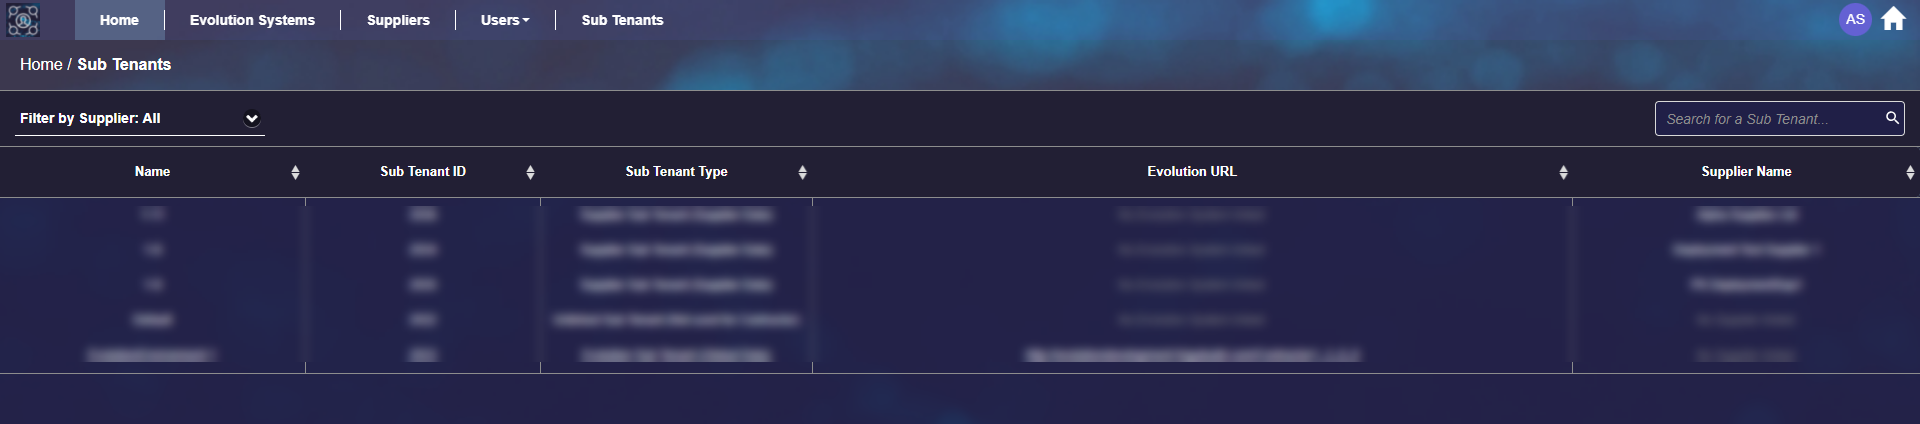
The grid of Sub Tenants can be filtered and sorted but the records cannot be edited nor new ones created here. Supplier Sub Tenants are created when a Supplier is on-boarded to Contractor in MRI Evolution. Other types of Sub Tenants are created in the MRI Dreamscape Portal.
Tagging App Users
Users of the Tagging App are set up and maintained in the Contractor Configuration App.
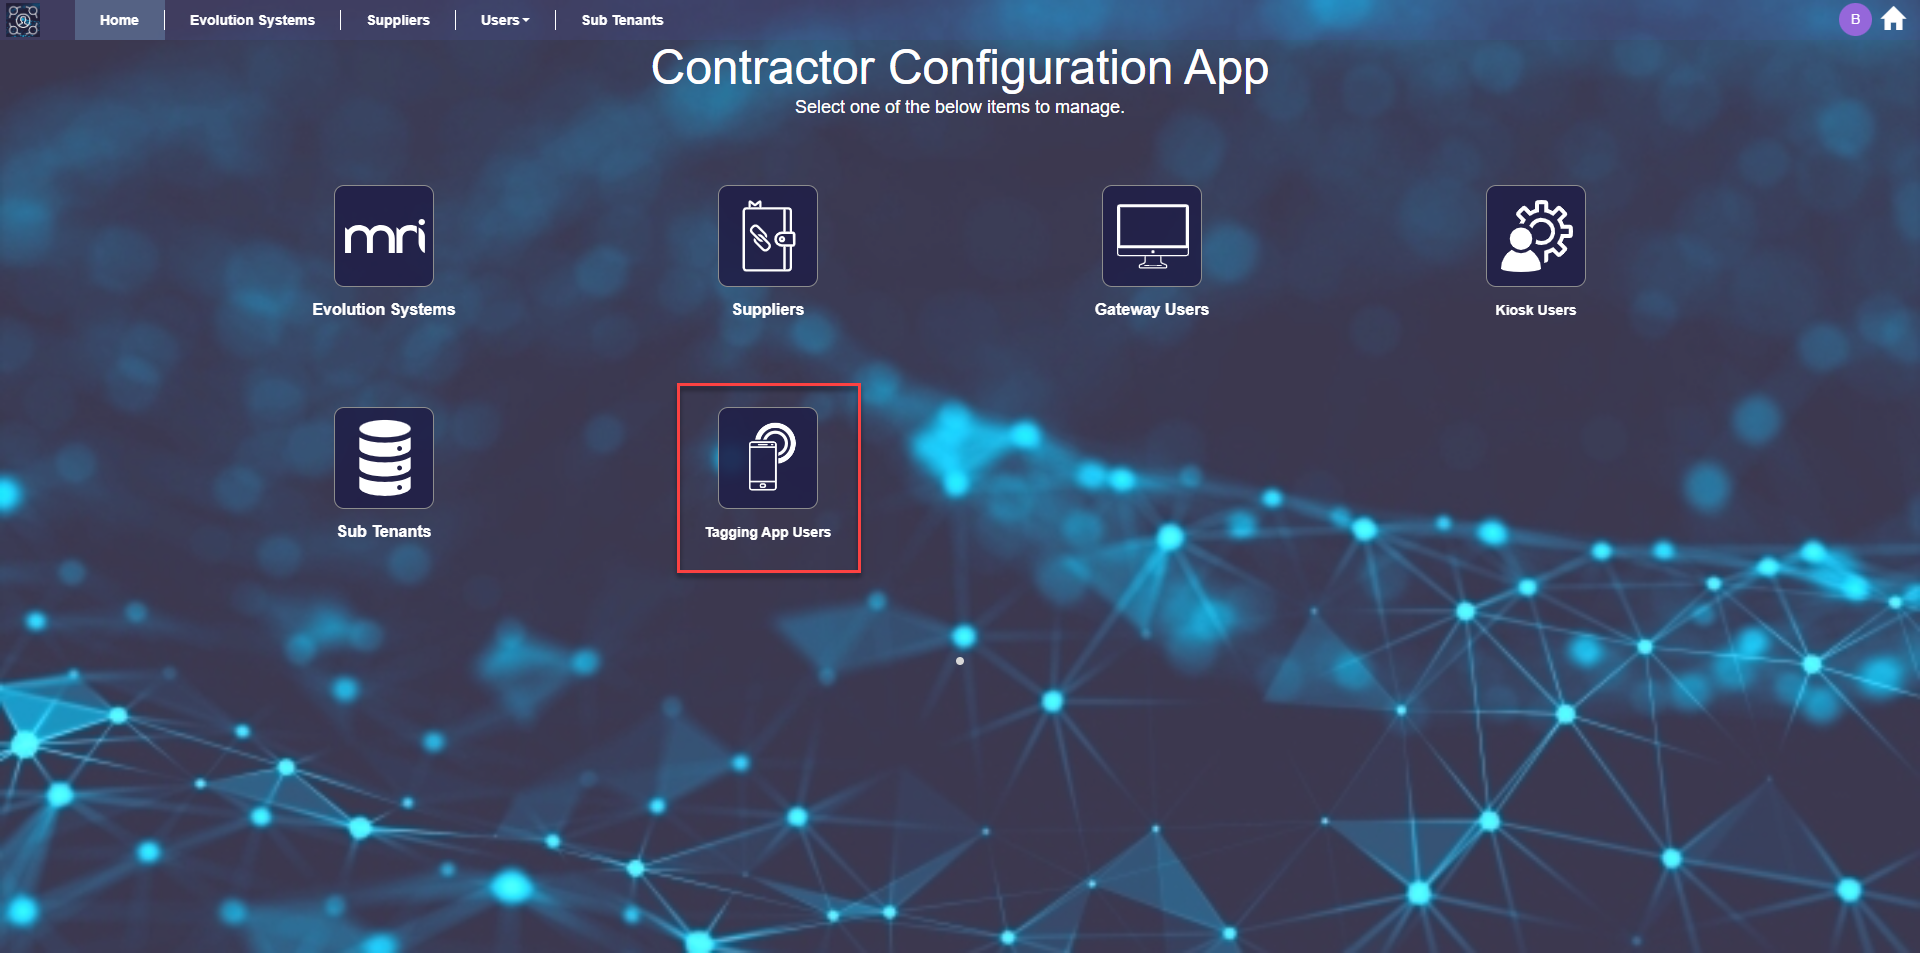
Click the Tagging App Users link, highlighted above, to open a grid of Tagging App users.
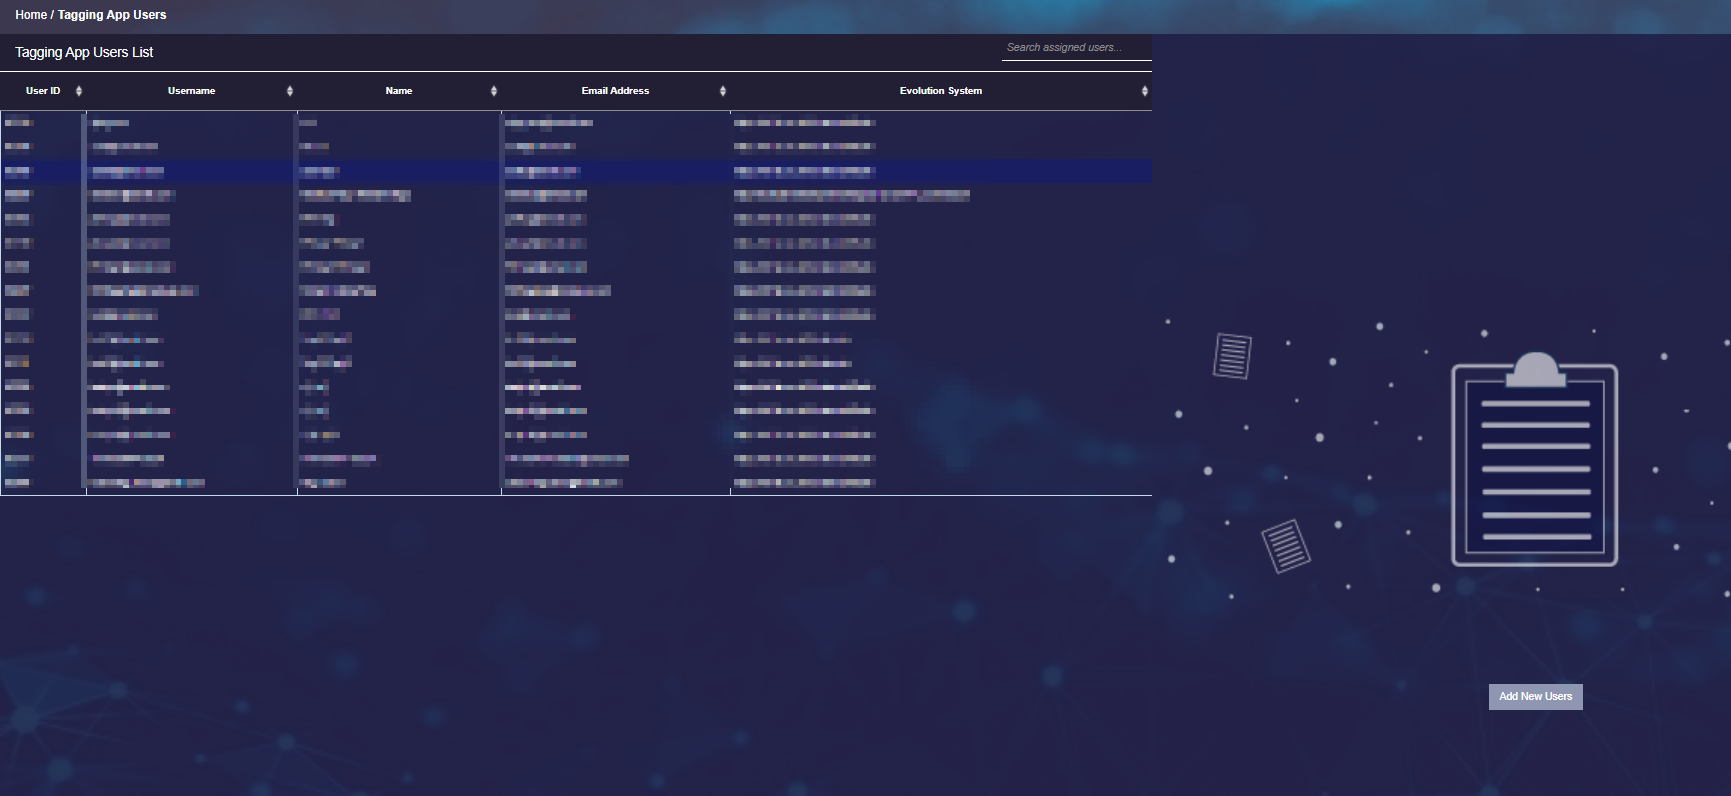
Adding New Users - Available from version 1.2
Clicking the  button will change the right side of the page to display empty User Details fields.
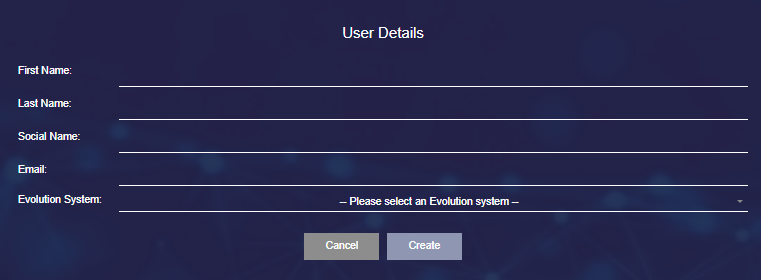
All fields are mandatory.
Enter the appropriate values and click the  button.
Tagging App users created via this method will:
- be constrained by the same user validation rules, such as unique email address
- receive the standard new user email instructing them to set their password for the app
- have the Tagging App automatically published to them
Updating Existing Users
Clicking on a record in the user grid will change the right side of the page to display the User Details fields.

Updating Users
The values in all fields can be updated but it is not advised to change the email address, since it is used as the Username to log in to the app.
Make the necessary field changes and click the  button to save the changes.
Deleting Users
Select the record from the grid of users and click the  button.
A delete user confirmation popup will appear, click Yes to delete.
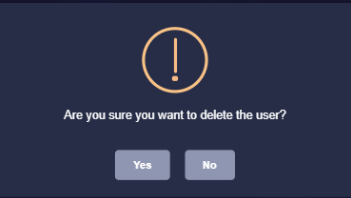
The focus will return to the grid of users, the deleted user will no longer be present.